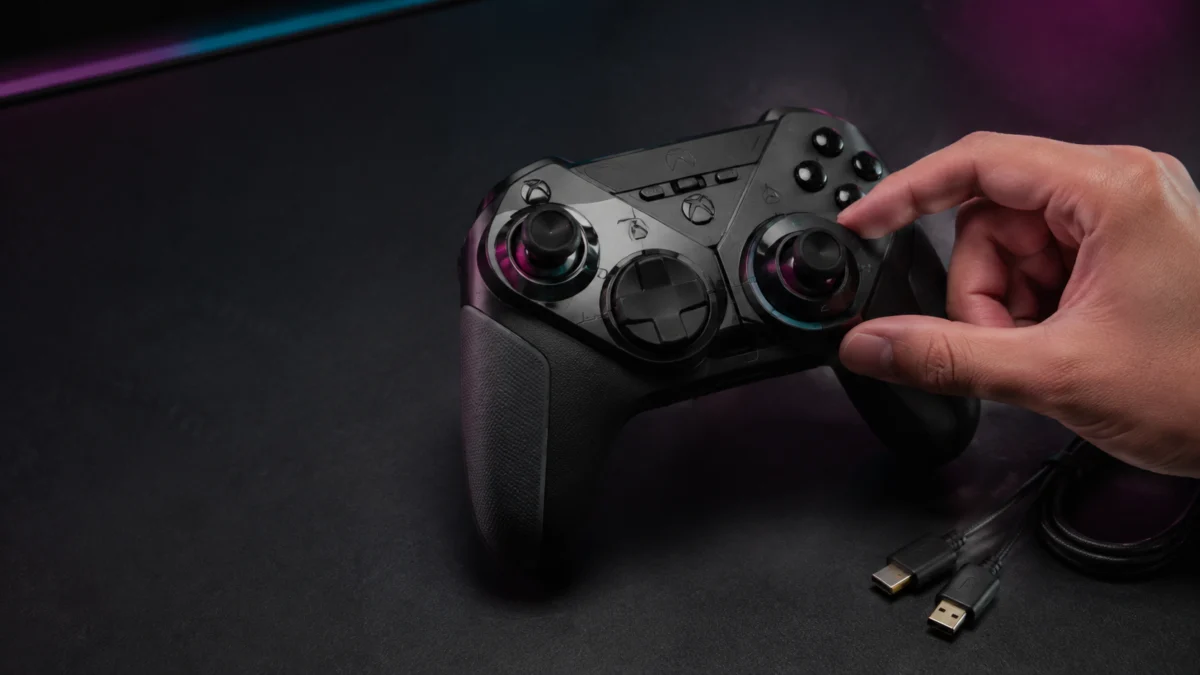
Answer first: Run the official calibration in Control Center 2 over a wired USB connection, then rotate both Pivot Modules a few times and set them back. Turtle Beach publishes that exact sequence for the Stealth Pivot. If the unwanted input returns after a clean calibration, stop raising deadzones and open a support case instead.
That order matters for reasons specific to this pad. Its contactless AntiDrift Hall Effect thumbsticks use magnets rather than full-contact analog sticks, removing the worn-contact failure mode behind classic potentiometer drift. Calibration, module seating, firmware state, and manufacturing variation should therefore be checked before assuming wear.
Cleaning can help when debris is the cause, but it does not replace the Stealth Pivot’s model-specific calibration and module checks.
The full sequence takes 5 steps.
- Connect by USB data cable and confirm Control Center 2 detects the pad.
- Install any pending firmware update first.
- Run the official calibration from the System tab.
- Rotate both Pivot Modules through a full cycle and re-lock them.
- Re-test after a restart and in a second game before assuming hardware failure.
Disclosure: Fixory may earn a commission from qualifying purchases made through links in this article. Affiliate relationships do not influence which products appear or how they are described.
Identify Drift, Deadzone Masking, or Lost Stick Range
Not every unwanted input on the Stealth Pivot is drift. Sort your symptom into one of four groups first: unwanted movement at rest, a range that never reaches full deflection, one direction feeling different from another, or a problem that appears in a single game only. Each group needs a different check.
| What you are seeing | What it may indicate | Where to start |
|---|---|---|
| Movement with your hands off the sticks | A centre offset or a possible module-seating issue | Firmware update, then calibration |
| One direction never seems to reach full input | Directional response inconsistency rather than a centring fault | Compare axis response settings; calibration may not change it |
| Diagonals feel sticky, square, or snap to straight lines | Response shaping such as cardinal snapping or a square-ish travel path | Compare response settings and in-game sensitivity |
| Only one game misbehaves | Game-side deadzone or input mapping | Test a second title first |
| Both sticks act up after switching layouts | A possible module-seating issue after rotation | Rotate fully through and re-lock |
Independent bench measurements from Gamepadla’s Stealth Pivot test sharpen that distinction.
| Measurement | Result on the tested unit | What it means |
|---|---|---|
| Centre error, left and right | 0.0% and 0.2% | The tested unit re-centred extremely well; this does not guarantee every unit will |
| Inner deadzone | Present and active | On the tested unit, very small centre inputs were filtered before the game saw them |
| Stick asymmetry, left and right | 3.8% and 34.2% | The tested right stick reported position less consistently by direction |
| Circle error and cardinal snapping | 13.1% and 12.9%, snapping active | The tested travel path was square-ish and clung to the axes, which can affect diagonal aim |
On that tested unit, unwanted movement large enough to appear in a game would have passed the controller’s measured inner deadzone. That can make repeatable drift after calibration a useful support signal. Separately, range or diagonal feel may point to response shape rather than a centring problem, so calibration may not change those symptoms.
These measurements come from a single tested unit, so read them as a guide to the design, not a guarantee about yours.
Check Control Center 2 and Update the Stealth Pivot Firmware
Calibration and firmware updates both require a wired USB connection, so confirm that Control Center 2 detects the controller before changing anything. A charge-only cable will power the pad without carrying data, which looks identical to a failed connection. Install any available firmware update before you calibrate.
| Platform | Supported connections |
|---|---|
| Windows 10 and 11 | 2.4 GHz transmitter, Bluetooth, or wired USB |
| Xbox Series X|S and Xbox One | Wired USB only |
| Android 8.0 and later | Bluetooth |
| Smart TVs with Bluetooth | Bluetooth |
This check takes 4 steps.
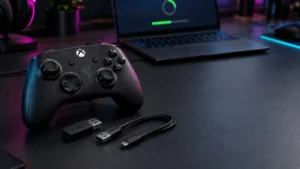
- Connect to your PC or Xbox with the bundled USB-A to USB-C cable, using a port on the machine rather than a hub.
- Open Control Center 2 and confirm the pad appears. Try a second port before assuming a fault.
- Install any firmware update the app offers.
- Reconnect and confirm detection once it finishes.
If the pad charges but never appears in the app, a charge-only or faulty cable is one possible cause. Rule it out with a known data-capable cable before moving on. The calibration and firmware steps below need a stable wired link.
Turtle Beach also maintains a related Stealth Pivot firmware support page.
Sponsored: If you need a data-capable replacement cable, these USB-A to USB-C options support data transfer at up to 480 Mbps.
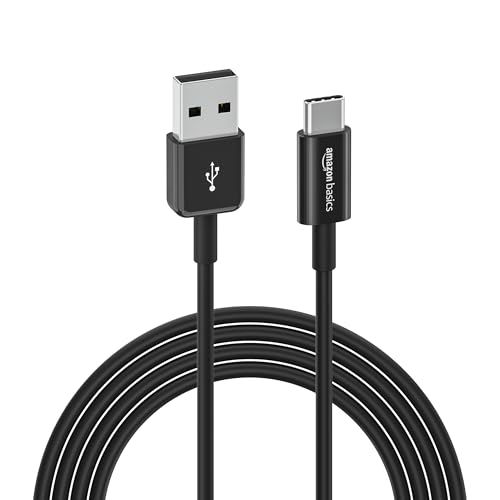
Please check the Amazon product page for the latest price and availability.

Please check the Amazon product page for the latest price and availability.
Run the Official Stick and Trigger Calibration
Turtle Beach documents a single calibration routine for the Stealth Pivot: connect over USB, open Control Center 2, select the controller, go to the System tab, and start calibration. You then rotate both sticks through their full travel and pull both triggers fully, several times each.
Calibration re-teaches the controller where each stick’s centre and outer limits sit. That is precisely the failure mode Hall Effect sensing does not guard against.
The fix takes 6 steps.
- Install Control Center 2 on your PC or Xbox console.
- Connect the Stealth Pivot to it with a USB data cable.
- Open Control Center 2 and select the controller from the device list.
- Open the System tab and choose the option to begin calibration.
- Rotate both thumbsticks through their full range several times, reaching the edge in every direction.
- Pull both triggers through full travel several times, then let the app save.
The routine and the manufacturer’s breakdown of causes appear in Turtle Beach’s official stick drift guide.
A related product-specific calibration support page is also available.
Test the Deadzone and Rotate the Pivot Modules Safely
Turtle Beach describes raising the deadzone as a way to mask minor drift rather than fix it. The tested Stealth Pivot unit already applied its own inner deadzone, so adding more can cost precision. Rotating the Pivot Modules is the manufacturer’s own next step when calibration alone does not hold.
A deadzone is the region around the centre where stick input is ignored. Widening it stops your game acting on a phantom input, but the input remains and everything inside the new zone becomes unusable for fine aim. Turtle Beach frames a 5 to 10 percent increase as temporary, not a repair.
Gamepadla measured an active inner deadzone on its tested unit. If your symptom remains after calibration and also persists across games, use any additional deadzone only as a temporary workaround while you arrange support.
The Pivot Modules rotate; they do not detach during normal operation. Turtle Beach documents release switches on the rear that unlock them for rotation and hold them once set. If both sticks act up after a layout change, cycling the modules through another position and back is a reasonable seating check.
The rotation takes 5 steps.
- Set the pad on a flat surface and locate the rear release switches.
- Disengage the switches to unlock the modules.
- Rotate each module to the alternate layout without forcing the mechanism.
- Rotate back to your original layout and confirm both modules sit flush.
- Re-engage the switches so both modules lock, then reconnect and re-test.
Use Control Center 2 for firmware updates.
For related app controls, see Turtle Beach’s Stealth Pivot Control Center 2 support page.
Verify the Result and Decide When to Use Warranty Support
A fix only counts if it survives a power cycle and a second game. Recheck the controller after restarting it, then in a different title and on a second compatible device. Drift that returns after a clean calibration is a strong sign that the problem is controller-side rather than limited to one game’s settings.
The verification takes 4 steps.
- Power the pad off and on, then reconnect, so you are not judging a temporary state.
- Re-test in the original game, with any deadzone changes returned to their previous values.
- Re-test in a second game. A symptom confined to one title belongs to that game’s settings.
- If you can, re-test on a second supported device. A symptom that follows the pad points at the pad.
Treat it as a likely controller-side issue once the documented steps have been applied cleanly and the symptom still returns. The threshold is not how irritating the drift is, but whether the official remedies held.
Coverage depends on your purchase date, retailer, and region, so confirm current terms with Turtle Beach. For current claim routes and regional details, use Turtle Beach’s support portal and warranty information page. Gather a short record first.
- Serial number and dated proof of purchase.
- The symptom, including which stick and which direction.
- Devices and connection modes where you reproduced it.
- Which steps you performed, and what each one changed.
- Any deadzone values you changed, and whether they were reset.
If your warranty has expired and repair or exchange is unavailable, a replacement becomes the practical option — but only here, after the documented remedies are exhausted.
Sponsored: These wired alternatives support Xbox Series X|S, Xbox One, and Windows 10/11. Consider them only if support, repair, and exchange are no longer available.

Please check the Amazon product page for the latest price and availability.

Please check the Amazon product page for the latest price and availability.
How We Researched
This article draws on Turtle Beach’s official product page, an official Turtle Beach article covering Stealth Pivot calibration, and published third-party bench measurements. We have not conducted hands-on lab testing. Every figure and procedure above is attributed to the source type it came from.
Product specifications and the release-switch mechanism come from Turtle Beach. Calibration and deadzone guidance come from its stick drift article, while the measured figures come from Gamepadla’s single-unit test.
We looked for first-hand owner reports on community forums but could not verify the threads we identified, so no community claims appear here. We also left out anything unconfirmed against official material, including firmware version numbers, factory reset behaviour, and warranty durations.
Frequently Asked Questions
Three questions come up repeatedly about this controller, and all three have answers grounded in Turtle Beach’s own documentation rather than general controller advice. They cover whether Hall Effect sticks can drift at all, what deadzone adjustment actually achieves, and what the Pivot Modules are designed to do.
Can a Hall Effect controller like the Stealth Pivot still drift?
Yes. Hall Effect sensing removes the worn-contact failure mode, but Turtle Beach’s own cause list also includes calibration errors and manufacturing tolerances. Those paths remain open on any controller. That is why the manufacturer publishes a calibration routine and a module-rotation step for this model.
Will raising the in-game deadzone fix Stealth Pivot drift?
No. Turtle Beach describes a higher deadzone as a way to mask minor drift, not a repair. It also widens the zone where small stick movements are ignored, which costs you fine aim. Use it as a temporary workaround while you arrange support, not as the solution.
Can I remove or replace the Pivot Modules?
The modules are designed to rotate rather than be removed during normal operation. Turtle Beach’s instructions describe unlocking them with the rear release switches, rotating them, and locking them again once positioned. The supported troubleshooting sequence does not require opening the controller.
Conclusion
Treat Stealth Pivot drift as a calibration, seating, or firmware problem before you treat it as a worn stick. Work through the wired connection check, the firmware update, the official calibration, and the module rotation in that order. If it comes back, contact support rather than tuning further.
Do not let deadzone adjustment become the answer. On the tested unit, the sticks re-centred almost perfectly and an inner deadzone was already active. A repeatable symptom that remains after a clean calibration is useful diagnostic evidence for support, not something to hide indefinitely with a larger deadzone.