
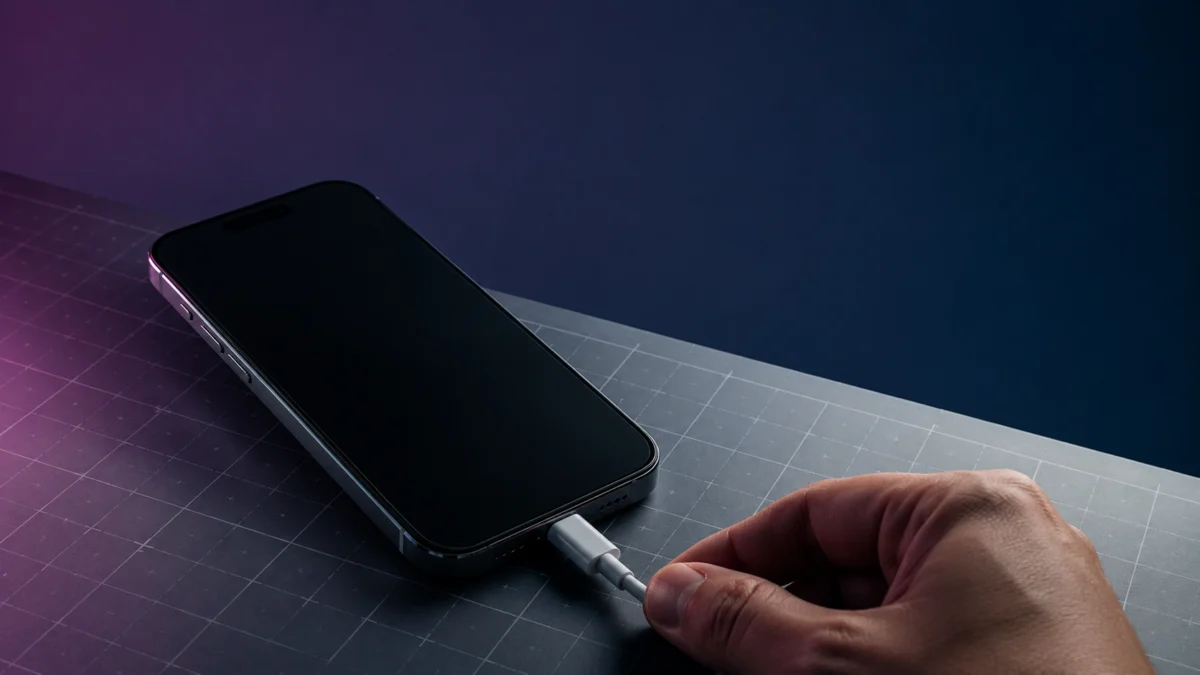
Your iPhone 17 went to 0%, shut off, and now it won’t respond — no screen, no Apple logo, nothing. Before you assume the worst, read the two sentences below.
The short answer: In most cases, a completely drained iPhone 17 needs more time and the right power source before it shows any sign of life. Apple’s own documentation confirms that a deeply depleted iPhone can sit on a black screen for up to two minutes after you plug it in, and may need up to ten minutes of charging before it becomes usable. What looks like a dead phone is often a phone that simply isn’t ready yet.
What this guide covers: The exact steps to revive an iPhone 17 (including iPhone 17 Air, iPhone 17 Pro, and iPhone 17 Pro Max) that won’t start after a full battery drain — in priority order, from the safest fix to the last resort. It also tells you exactly when to stop trying and take the phone to Apple instead.
One honest note before you start: As of May 6, 2026, Apple has not published an official release note confirming a patch for this specific symptom. The issue is real — it appears consistently across Apple Community forums and Reddit — but Apple has not named it as a confirmed, fixed bug. That means these steps are your best path right now, not a guaranteed single-cause solution.
Apple Support: If your iPhone won’t turn on or the screen is black
Apple Support: If your iPhone or iPod touch won’t charge
Your iPhone 17 Isn’t Dead — Here’s What’s Actually Happening
When an iPhone 17 runs completely to 0% and shuts down, the battery enters a state of deep depletion. In that state, the phone’s display hardware does not have enough power to show anything — not even the low-battery icon. According to Apple’s iPhone User Guide, this is expected behavior: the screen can stay completely blank for up to two minutes after you connect a charger, and the phone may need up to ten minutes of charging time before it responds at all.
The problem is that many iPhone 17 users report a delay far longer than those ten minutes. Reports on Apple Community and Reddit consistently describe a phone that stays dark for 15 minutes, 30 minutes, an hour, or more before showing the Apple logo. Some users describe the standard wired USB-C charge doing nothing at all, then the phone coming back on MagSafe or a different USB-C adapter. Others report that a force restart finally worked after the phone had been on charge for 30 or more minutes.
This symptom has appeared across the iPhone 17, iPhone 17 Air, iPhone 17 Pro, and iPhone 17 Pro Max. As of May 2026, Apple’s Service Programs page lists no recall or repair program for this symptom, and Apple’s iOS 26 release notes through iOS 26.4.2 do not include a fix note for a “won’t start after drain” bug. The most responsible description of the situation: the symptom is real and widely reported, but Apple has not publicly confirmed a single root cause or an official patch.
Apple Support: Apple Service Programs
Apple Support: About iOS 26 Updates
Quick Fix Checklist (Try These First)
Work through this list before moving to the detailed steps below. Each item takes under two minutes.
- Plug into a wall outlet — not a computer USB port. A computer USB port often does not supply enough power to wake a deeply depleted battery. Use a wall adapter.
- Use an Apple-certified USB-C cable and a 20W or higher adapter. A damaged or uncertified cable can prevent charging entirely. The iPhone Air and iPhone 17e need at least a 20W adapter for fast charging; the iPhone 17, Pro, and Pro Max need at least 40W to hit Apple’s rated fast-charge speed.
- Check the USB-C port for debris. Pocket lint packed into the port is a common and overlooked cause of charging failure. Inspect with a flashlight. If you see debris, clear it carefully with a dry toothpick — do not use metal tools.
- Make sure the phone isn’t too hot or too cold. Apple’s documentation states that charging slows or stops entirely outside normal temperature ranges, for both wired and wireless charging. If the phone feels warm, move it to a cooler spot and wait before plugging in again.
- Wait at least 15 minutes on charge before doing anything else. Pressing buttons repeatedly on a deeply depleted phone does not help it charge faster. Plug it in, set it down, and give it time.
Step-by-Step: How to Bring Your iPhone 17 Back
Follow these steps in order. Do not skip ahead. The earlier steps carry no risk of data loss; the risk increases only in Steps 4 and 5.
Step 1 — Force Restart Your iPhone 17
A force restart is safe: according to Apple’s support documentation, it does not erase any data. It is the first action Apple recommends when an iPhone screen is black or the phone is unresponsive.
The sequence is the same for all iPhone 17 family models (iPhone 17, iPhone 17 Air, iPhone 17 Pro, iPhone 17 Pro Max, and iPhone 17e), because they all use Face ID and the same button layout:
- Press and quickly release the Volume Up button.
- Press and quickly release the Volume Down button.
- Press and hold the Side button.
- Keep holding until the Apple logo appears. Apple notes this can take longer than 10 seconds — keep holding even if nothing seems to be happening.
If the phone is still on charge when you do this, leave it connected. If the Apple logo appears, let the phone continue charging for at least 20 minutes before using it.
If no Apple logo appears after a full force restart attempt, move to Step 2.
Apple Support: Force restart iPhone
Step 2 — Check the Cable, Adapter, and Port, Then Wait
This step follows Apple’s official charging troubleshooting flow directly.
- Connect the iPhone to a wall outlet using a known-good USB-C cable and a compatible adapter (20W or higher for iPhone Air and 17e; 20W or higher for iPhone 17, Pro, and Pro Max — though 40W or higher is needed to reach Apple’s rated fast-charge speeds for the standard and Pro models).
- Inspect both ends of the cable and the adapter for visible damage. If you have a second cable or adapter available, swap it in.
- Look inside the iPhone’s USB-C port for debris and clear it if needed.
- Leave the phone charging for 30 minutes. Do not press any buttons during this time.
- After 30 minutes, attempt the force restart sequence from Step 1 again.
- If the phone still does not respond, leave it on the same charger for another 30 minutes.
According to Apple’s iPhone User Guide, a deeply depleted iPhone may show no display activity at all until enough charge has accumulated. The waiting period here is not optional — it is part of Apple’s official recovery process.
iPhone User Guide: Charge the iPhone battery
Step 3 — Try a Different Power Source (Community-Verified Workaround)
This step is not part of Apple’s official documentation. It is a pattern that appears repeatedly in primary user reports on Apple Community and Reddit, and it is worth trying before moving to recovery mode.
If you have already completed Steps 1 and 2 with a wall adapter and the phone has not responded:
- Try MagSafe or Qi2 wireless charging if you have a MagSafe charger available. Multiple users across Apple Community and Reddit threads report that their iPhone 17 (or Pro / Pro Max / Air) came back on wireless charging after wired charging showed no response.
- Try a different USB-C source — for example, a laptop’s USB-C port or a different wall adapter, preferably a genuine Apple adapter if you haven’t already used one.
To be precise about what this step is: it is the most consistently reported community workaround for this symptom, not an Apple-confirmed fix. Apple has not published a statement explaining why switching power sources would help in this specific scenario. If it works for you, let the phone charge for at least 30 minutes before attempting a force restart.
Step 4 — Use Recovery Mode on a Computer
Data risk: Recovery mode with Update tries to preserve your data. Recovery mode with Restore erases everything. Read this section carefully before you begin.
If the phone still shows no response after Steps 1 through 3, Apple’s next official escalation is recovery mode.
What you need:
- A Mac (updated to the latest macOS) or a Windows PC with the latest Apple Devices app installed (or iTunes if required by your Windows version)
- A USB-C cable to connect your iPhone to the computer
How to enter recovery mode on iPhone 17 (all models):
- Connect the iPhone to your computer with a USB-C cable.
- Press and quickly release Volume Up.
- Press and quickly release Volume Down.
- Press and hold the Side button until you see the Connect to Computer screen (a cable icon pointing toward a computer).
- On your Mac, open Finder and select your iPhone in the sidebar. On Windows, open Apple Devices or iTunes.
What to choose when prompted:
- If Finder or Apple Devices offers an Update option, choose Update first. According to Apple’s support documentation, Update reinstalls iOS while attempting to keep your personal data. This is the lower-risk path.
- If Update fails, or if the phone leaves the recovery screen during a software download, let the download finish and re-enter recovery mode, then try again.
- If Update is not offered or fails after multiple attempts, the next option is Restore. Apple states that Restore reinstalls iOS and erases all data on the device.
Apple also added a newer option in March 2026: if your iPhone is already in recovery mode, you can place it near another unlocked iPhone or iPad connected to Wi-Fi and use the Restore Nearby feature to share connectivity for the restore process. This is an optional path; Finder or Apple Devices remains the more reliable route for most users.
Apple Support: If you can’t update or restore your iPhone
Step 5 — DFU Mode (Advanced Last Resort)
Data risk: Treat DFU mode as a full-erase operation.
DFU (Device Firmware Upgrade) mode is the deepest software recovery option available. Apple’s security documentation confirms that DFU mode exists, that the screen stays black while the device waits for USB recovery, and that Finder or iTunes will detect a device that needs to be restored. Apple also states that a DFU restoration returns the device to a known-good state containing only Apple-signed code.
However, Apple does not publish a dedicated consumer troubleshooting article walking iPhone 17 users through DFU mode for this specific symptom. Apple’s official support flow steers regular users toward the recovery mode restore in Step 4.
Recommendation: Only attempt DFU mode if recovery mode in Step 4 has already failed completely and an Apple technician or senior support advisor has specifically suggested it. If you are uncertain, skip this step and go directly to Step 5 — bring the phone to Apple.
What About Your Data?
This is the question most people are really asking. Here is what Apple’s own documentation says about each step:
| Action | Data Risk |
|---|---|
| Force restart | No data loss. Apple describes this as a restart only. |
| Cable, adapter, port checks / waiting | No data loss. |
| Switching to MagSafe or a different power source | No data loss. |
| Recovery mode — Update | Low risk. Apple says Update reinstalls iOS and attempts to keep personal data. Not a guaranteed preservation. |
| Recovery mode — Restore | Full erase. Apple states Restore reinstalls iOS and erases all data. |
| DFU restore | Full erase risk. Apple’s security documentation describes DFU restoration as returning the device to a known-good state. Treat it as a full erase. |
| Apple service or replacement | Apple says its repair process is designed to minimise technician access to your data, but if the resolution is a restore or replacement, unsynced local data may not survive. If the phone boots at any point, back it up to iCloud immediately. |
If your phone comes back at any step: before doing anything else, go to Settings → [Your Name] → iCloud → iCloud Backup and run a manual backup. Do not wait.
When to Stop and Go to Apple
According to Apple’s official support documentation, move from self-help to professional inspection when any of the following is true:
- You have completed Apple’s official sequence — known-good power source, port check, 30 minutes charging, force restart, another 30 minutes charging — and the phone still shows no response.
- Recovery mode cannot complete an Update or a Restore successfully.
- A button is physically broken or stuck, preventing you from performing the restart or recovery steps.
- The phone may have been in contact with liquid. Apple states that liquid damage is not covered by the One-Year Limited Warranty, and Apple’s documentation advises against charging a wet iPhone.
Two additional practical thresholds come from the primary user reports reviewed for this article (these are operational inferences from Apple’s service rules combined with the reported symptom pattern, not direct Apple statements):
- The phone has already been updated to the latest public iOS (iOS 26.4.2 as of May 2026) and the drain-to-black-screen failure happens again after all the steps above.
- Charging behavior remains inconsistent after Apple’s official checks — for example, the phone only wakes from wireless charging and refuses all wired charging, even with a known-good cable and adapter.
To reach Apple support, you have three options: book a Genius Bar appointment at an Apple Store, contact Apple Support online or by phone, or visit an Apple Authorized Service Provider.
On warranty: Apple’s Limited Warranty covers manufacturing issues for one year from purchase and does not cover accidental damage or batteries that wear down through normal use. If you have AppleCare+, battery service is available when capacity falls below 80%. Liquid damage falls outside standard warranty coverage.
Apple Support: Apple Service and Repair for iPhone
How We Researched
This article is based on Apple’s primary support documentation — including the official pages for iPhone won’t turn on, iPhone won’t charge, Force restart iPhone, and the iPhone User Guide’s battery charging section — all reviewed as of May 6, 2026. Device-specific charging specifications come from Apple’s official iPhone 17 family spec pages. To understand the real-world scope of the symptom, we reviewed primary user reports on Apple Community (iPhone 17 Pro won’t turn on thread; iPhone 17 Pro Max not charging thread; iPhone 17 Pro overheating and drain thread) and Reddit (threads covering iPhone 17, iPhone 17 Air, and iPhone 17 Pro Max post-drain no-power cases). iOS version status was verified against Apple’s “About iOS 26 Updates” page and the iOS 26.4.2 security release note. Apple’s Service Programs page was checked for any active iPhone 17 repair programs. Where a step or conclusion goes beyond what Apple’s official pages state directly — such as the community workaround in Step 3 or the practical service thresholds — that is noted in the article text.
Final Verdict: Next Steps at a Glance
If your iPhone 17 won’t turn on after a full battery drain, start here and work down the list:
- Plug into a wall outlet with a certified USB-C cable. Wait 15 minutes without touching any buttons.
- Force restart (Volume Up → Volume Down → hold Side button). Safe — no data risk.
- Follow Apple’s full charging sequence: 30 minutes on a known-good wall charger, force restart, 30 more minutes.
- If still no response: try MagSafe or a different USB-C adapter or power source.
- Still nothing: connect to a Mac or PC and run recovery mode. Choose Update first (lower data risk) before Restore (full erase).
- If all of the above fails: contact Apple Support or visit an Apple Store or Authorized Service Provider.
As of May 2026, Apple has not confirmed a specific patch for this symptom in any public iOS 26 release note, and there is no active iPhone 17 repair program for it. If the steps above resolve the issue once but it repeats, that is the clearest signal to escalate to Apple service rather than run through the list again.








Comments