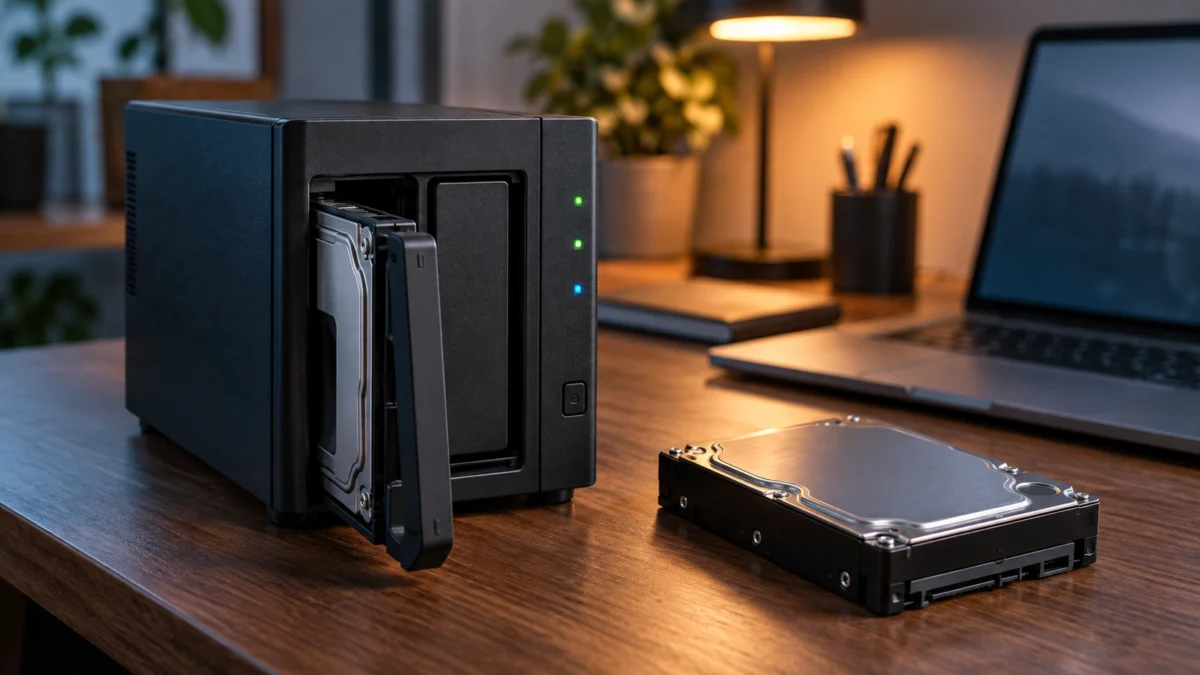
If your Synology DS224+ no longer shows an installed drive in Storage Manager, shut the unit down and reseat one drive at a time before doing anything else. Do not initialize, format, or reinstall DSM while you are still diagnosing. Synology’s own procedure has two strands: check the drive against the compatibility list for your model, and isolate the fault by moving one drive between bays and cross-checking it on a computer. Both can be checked without intentionally initializing or formatting the drive, but no troubleshooting step can guarantee data preservation on failing hardware. A completely absent drive and a drive labelled Unverified or Incompatible are different observations that lead to different actions. This guide separates those symptoms and gives an eight-step isolation sequence.
Which Problem Do You Actually Have?
Three DS224+ symptoms look similar and lead to different actions. A drive missing entirely from Storage Manager means the system never listed it. A drive shown as Unverified or Incompatible has been detected and labelled. A drive shown as unallocated is detected and simply has no storage pool yet.
Applying drive-replacement logic to an unallocated drive is one of the fastest ways to erase a working array.
| What Storage Manager shows | What it means | Covered in this guide |
|---|---|---|
| The drive does not appear at all | The system never listed the drive. Work through the compatibility check and the isolation steps below | Yes |
| The drive appears as Unverified or Incompatible | Detected, then labelled. Review it against the compatibility list for your model | No, separate issue |
| The drive appears as Unallocated or Not initialized | Detected, with no storage pool assigned yet | No, separate issue |
Safe First Checks and What Not to Do
Before changing anything, rule out the actions that cause permanent data loss. Do not initialize, format, reinstall DSM, create a new storage pool, start an SHR rebuild, or swap both drives at once while a bay is still unexplained. The checks below avoid intentional initialization, formatting, DSM reinstallation, and rebuild operations. They still cannot guarantee data preservation if a drive is already failing.
Do not do any of the following until the fault is identified:
- Reinstall DSM
- Create a new storage pool or volume
- Initialize or format a drive that holds existing data
- Start an SHR or RAID rebuild
- Remove or replace both drives at the same time
These checks avoid intentional write operations:
- Look up the drive’s model number on Synology’s compatibility list for the DS224+
- Remove and reseat a drive tray
- Install one drive at a time and note what appears after each restart
- Move a drive between bays
- Read the drive status LEDs and the Storage Manager entry
Why DS224+ Drives Stop Being Detected
Six factors are worth checking when a DS224+ drive is absent from Storage Manager: incomplete seating against the SATA connector, a fault in one bay, a failed drive, the drive’s compatibility status, an underpowered or failing power adapter, and a hardware fault in the NAS itself. Work through them without assuming which applies.
| Factor | What you would typically see | Next check |
|---|---|---|
| Drive seating | One drive disappears after a tray swap, a move, or transport | Reseat until the drive is fully home against the connector |
| Drive compatibility status | The model number is absent from Synology’s list for this model | Check the official list. Synology warns that an unlisted drive may not function properly |
| One specific bay | The same drive is detected in one bay and not the other | Swap bays with a drive you know works |
| The drive itself | Missing in both bays and on a PC or USB dock | Cross-check the drive on another machine |
| Power adapter | Several drives that work elsewhere are missing in both bays | Contact Synology support before buying any adapter |
| NAS hardware | Will not finish powering on cleanly with no drives installed | Follow the official troubleshooting chapter for the model |
The DS224+ has two bays that officially take 3.5-inch SATA hard drives or 2.5-inch SATA solid state drives, and ships with a 60-watt adapter. There are no M.2 slots. A 2.5-inch SATA hard drive falls outside the drive types Synology states for this chassis.
What the 2025 compatibility policy does and does not tell DS224+ owners
Synology’s 2025 drive compatibility policies apply to models released from 2025 onward and are not applied retroactively to earlier systems, so the DS224+ is outside their scope. That settles one question only. It does not mean compatibility status is irrelevant here, because Synology’s troubleshooting page still directs owners to check the list.
The newer 2025-model policy is not applied retroactively to the DS224+; that scope statement does not establish why a particular drive is missing. The compatibility list still remains the reference Synology points to during non-detection troubleshooting. Check it, record the answer, and carry on isolating.
Synology drive compatibility policies FAQ
What community reports add, and what they do not
Community reports describe DS224+ owners whose drives stopped being detected in both bays, including one case where detection returned after the power adapter was replaced. Treat that as a single reported case, not a recognised product-wide fault, and reach for it only after known-good drives fail in both bays.
Do not buy a third-party adapter because the voltage and connector look similar. Ask Synology support what the unit requires.
Community report: DS224+ drives suddenly not detected
Community report: DS224+ single-drive isolation during setup
Step by Step: Isolate the Failing Part
This sequence follows Synology’s own order: confirm compatibility status, then isolate the fault by bay, by drive, and by machine. The sequence avoids intentional initialization, formatting, DSM reinstallation, and rebuild operations, but it cannot guarantee data preservation on failing hardware. Work with the NAS powered off between changes, move one variable at a time, and stop as soon as a step identifies the failing part.
The fix takes 8 steps.
- Shut the DS224+ down from DSM, or hold the power button until you hear a beep. Wait for it to power off, then unplug the adapter.
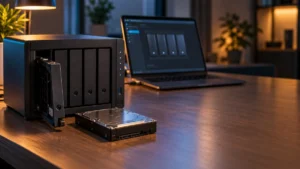
- Remove the affected tray and reseat it. Check that the drive is screwed in at the correct mounting points and slides fully home against the SATA connector. Restart and check Storage Manager.
- Read the model number from the drive label and look it up on Synology’s compatibility list for the DS224+. Record the result, but do not stop here: an unlisted drive is a risk to raise with support, and a listed drive can still fail.
- Power down and remove the other drive. Restart with only the suspect drive installed and check whether it appears in Storage Manager or in Synology Assistant.
- Power down and move the suspect drive to the other bay, still on its own. Restart, then check Storage Manager and Synology Assistant. A drive that appears here points at the original bay rather than the drive.
- Power down and install a drive you know works into the suspect bay, on its own. If that drive is also missing, the bay is the common factor.
- Connect the suspect drive to a PC or a USB dock and check whether the operating system sees it at all. Do not approve any prompt to initialize or format the drive. If it is still invisible through a known-good connection, the drive itself is likely failing.
- If neither bay detects multiple drives that work elsewhere, stop swapping parts. Follow the troubleshooting chapter in the official DS224+ product manual, which covers powering up with no drives, no external devices, and no added memory, then reading the power LED. Contact Synology support.
Synology: What to do when installed drives do not appear in Storage Manager
Synology DS224+ Product Manual: Troubleshooting
What the Results Mean, and What to Replace
Each outcome points at one part. A drive missing in both bays but working on another machine points back at the NAS, its bays, or the power path. A drive still missing through a known-good connection is likely failing. A bay that rejects known-good drives needs repair. If the drive is also unlisted, raise that with Synology support.
| Isolation result | Most likely part | Recommended action |
|---|---|---|
| The drive appears after reseating | Seating only | No purchase needed |
| The drive appears in one bay only | The original bay or its SATA connection | Repair or replacement through Synology or your reseller |
| The drive is missing in both bays but is detected on a PC | The NAS, its bays, or the power path | Contact Synology support with the drive model and its list status before replacing it |
| The drive is missing in both bays and through a known-good PC connection | The drive is likely failing | Replace it, checked model by model against the current compatibility list |
| Several known-good drives are missing in both bays | Power adapter or the NAS | Contact Synology support before replacing any part |
| Will not power on cleanly with no drives installed | NAS hardware | Repair, or evaluate a replacement unit |
If the drive itself is confirmed faulty
Only at this point does buying a drive make sense. Check the model number, not the capacity, against Synology’s compatibility list for the DS224+, and confirm recording technology, rotational speed, and warranty on the manufacturer’s own material. Do not assume a whole product family is covered because one model in it is listed.
Confirm the capacity your storage pool needs before ordering, and replace one drive at a time.
This article may contain affiliate links.

Please check the Amazon product page for the latest price and availability.
If the NAS itself is the problem
When multiple healthy drives fail in both bays, or the unit will not power up cleanly with no drives installed, the remaining candidates are the power adapter and the chassis. Both are support cases rather than self-service fixes. Ask Synology or your reseller before ordering parts.
If the chassis needs replacing rather than repairing, compare current two-bay and four-bay options first with our UGREEN NASync DXP4800 Pro vs Synology guide.
Nothing here guarantees that data on an affected drive can be recovered, or that a given part is the cause in your unit. Check Synology’s official specifications and support materials before acting.
How We Researched
This article is based on manufacturer documentation, official support materials, and community reports where available. We have not conducted hands-on lab testing. We did not commission a separate research report for this article. Any specifications or compatibility claims are attributed to official sources or clearly identified community reports.
- Synology’s official DS224+ product specification, used for bay count, supported drive types, power adapter rating, and the absence of M.2 slots
- Synology Knowledge Center guidance on drives that do not appear in Storage Manager, used for the compatibility check and the isolation steps
- Synology Knowledge Center guidance on drive compatibility policy, used only for the scope of the 2025 policies
- The official DS224+ product manual, used for the no-drives power-on troubleshooting sequence
- Community reports, used only for individual cases, never as a product-wide verdict
Synology DS224+ product specifications
FAQ
Can I use a drive that is not on the DS224+ compatibility list?
The 2025 drive restrictions are not applied retroactively, so the DS224+ is not covered by them. Synology still recommends checking the compatibility list and warns that an unlisted drive may not function properly. Treat an unlisted drive as a risk to record and raise with support, not as a guaranteed failure or a guaranteed fit.
Only one bay detects a drive. Is the bay broken?
Not necessarily. Test the same drive in the other bay, and a known-good drive in the suspect bay. If the suspect bay fails with drives that work elsewhere, the bay or its SATA connection is the likely fault, and that is a repair case rather than a drive purchase.
Can I run these checks without losing the data already on the drives?
These checks are designed to avoid intentional write operations: power down before moving hardware, do not approve initialization or formatting prompts, and do not reinstall DSM or start a rebuild before the fault is identified. They cannot guarantee data preservation on failing hardware, so back up anything irreplaceable first when that remains possible.
Conclusion
A DS224+ drive that does not appear at all needs two things checked, not one: its compatibility status and its physical isolation across bays and machines. Both are free checks that avoid intentional initialization or formatting, but neither guarantees recovery or preservation if the drive is failing. Reseat, test one drive at a time, swap bays, cross-check on a PC, and buy nothing until the failing part is identified.
The distinction that matters is not which check counts. It is that a compatibility label and a complete absence are different observations, and only the isolation steps tell you which part to act on.