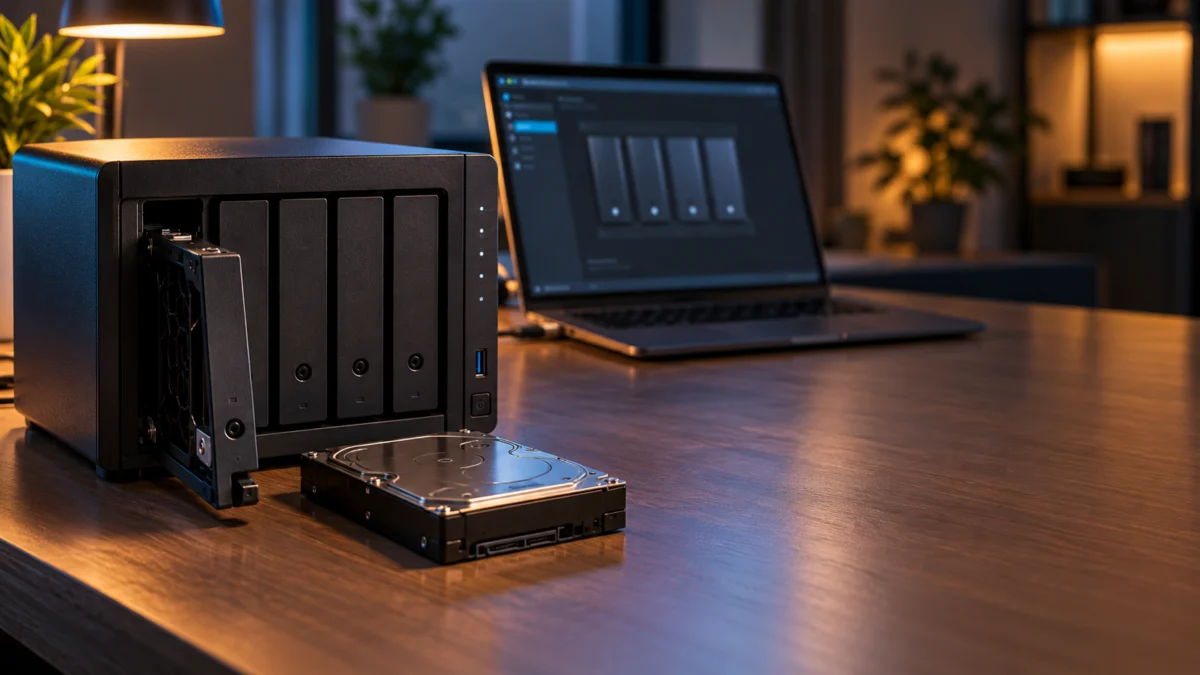
If your Synology DS925+ is not showing a drive, start with three checks: the DSM version, whether the drive is a SATA drive in one of the four bays or an NVMe SSD in an M.2 slot, and how many bays are affected. Synology says 2025-model DiskStation Plus systems running DSM 7.3 can install and build storage pools on non-validated third-party drives, but M.2 storage pools and cache still require drives on Synology’s compatibility list.
Before you change anything, protect your data. Do not initialize or format a drive that still holds files you need. Synology’s DS925+ manual warns that installing a drive containing data can lead to formatting and data loss. If this is an existing pool member, stop and ask Synology about the correct recovery or migration path before changing its placement.
Quick checklist
- Check the DSM version. If a third-party SATA drive is missing on DSM older than 7.3, check the drive policy and plan a backed-up update to DSM 7.3 or later before buying hardware.
- Push each drive tray fully in until it clicks, then lock it with the tray key.
- Read the affected bay’s drive LED. If it stays off while the NAS is running, check seating and Storage Manager before deciding what has failed.
- For an M.2 NVMe SSD, confirm the model is on Synology’s compatibility list.
- If known-good blank drives go missing in two or more bays after the policy check, contact Synology support.
First identify what “not detected” means on the DS925+
On a DS925+, “not detected” covers three different states: the bay’s drive LED stays off, the drive is missing from Storage Manager, or the drive appears but cannot be used for a storage pool or cache. Each state points to a different cause, so identify yours before swapping drives, moving bays, or changing DSM.
According to the DS925+ manual, a static green LED means the drive is ready, blinking green means the drive is being accessed, and an LED that is off means there is no internal drive in that bay. Orange covers several conditions, including a drive deactivated by the user, a disabled port, or a drive whose health is Critical or Failing. For orange, Synology directs you to Storage Manager → HDD/SSD in DSM for details.
Use this table to match your symptom to the most likely direction:
| What you see | DSM version | Drive type | Bays affected | Most likely direction | First check |
|---|---|---|---|---|---|
| Drive LED off, drive absent from Storage Manager | Any | 3.5″ or 2.5″ SATA | One | Tray seating or the drive itself | Reseat the tray, then test with a blank known-good drive |
| Drive LEDs off with known-good drives | Any | 3.5″ or 2.5″ SATA | Two or more | Possible enclosure or power-path fault | Stop and contact Synology support |
| Third-party drive missing or unusable in Storage Manager | Older than 7.3 | Non-Synology SATA | Any | 2025 drive policy may be involved | Back up and check the DSM update path |
| SSD listed, but M.2 pool or cache creation fails | 7.3 or later | M.2 NVMe | One or both slots | Check compatibility first; other causes remain possible | Check the SSD model against the list |
| M.2 SSD not listed at all | Any | M.2 NVMe | One or both slots | Installation | Recheck the M.2 installation with the NAS shut down |
| Drive LED orange | Any | Any | Any | DSM is reporting a drive or port condition | Open Storage Manager → HDD/SSD |
Check the DSM version and whether the drive is SATA or M.2
Check the DSM version first if the missing drive is a non-Synology SATA drive. Synology says 2025-model DiskStation Plus systems running DSM 7.3 support installing and creating storage pools on non-validated third-party drives. The exception is M.2: creating an M.2 storage pool or cache still requires SSDs on Synology’s compatibility list.
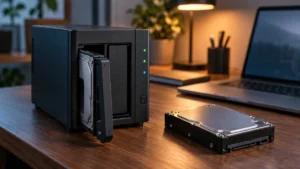
The DS925+ is a 2025-model DiskStation Plus unit with four bays for 3.5″ SATA HDDs or 2.5″ SATA SSDs and two M.2 2280 NVMe slots, according to Synology’s official specifications.
Synology announced the DSM 7.3 change in October 2025, and its note on the announcement keeps the M.2 exception in place.
Synology also publishes a drive compatibility policy FAQ for storage systems from 2025 onward running DSM 7.3 and later.
What this means in practice:
- Third-party SATA drive on DSM older than 7.3: check whether the 2025 drive policy applies. Back up what you can before updating DSM, then reassess before replacing hardware.
- Third-party SATA drive on DSM 7.3 or later: the drive policy no longer explains a completely missing drive, so move on to the installation and bay checks below.
- M.2 NVMe SSD on any DSM version: a third-party SSD that is not on the compatibility list cannot be used for an M.2 storage pool or cache, even on DSM 7.3.
Independent reviewer Dong Knows Tech reported that on its own DS925+, two third-party WD NAS drives did not appear in Storage Manager before DSM 7.3, then worked alongside Synology drives after the update. That is one reviewer’s setup.
If you are troubleshooting a two-bay DS224+ instead, the 2025 drive policy does not apply the same way, and our DS224+ guide covers that model.
Confirm DS925+ drive installation and each affected bay
Before assuming a drive is dead, confirm it is physically seated. Synology’s DS925+ manual notes that a drive tray that is not completely inserted may keep the drive from working properly, and its checklist for unrecognized hard drives starts with confirming compatibility and inspecting the drive connector for damage or bending.
The fix takes 5 steps.
- Shut down the DS925+. To power it off with the button, press and hold it until you hear a beep and the power LED starts blinking, then wait until the NAS is fully off.
- Pull out the affected drive tray and inspect the drive’s SATA connector. Look for damage, bent contacts, or anything lodged in the connector.
- Check that the drive is secured in the tray. A 3.5″ drive is held by the fastening panels on both sides of the tray, and a 2.5″ drive is fixed with screws from the underside.
- Slide the tray back into the bay until it clicks, then lock it with the tray key by turning the key clockwise to the “I” position.
- Power on the NAS and watch that bay’s drive status LED. Green means the drive is ready; an LED that stays off calls for a Storage Manager and seating check before diagnosing the drive or bay.
For an M.2 NVMe SSD, the slots are on the bottom of the DS925+ and are not hot-swappable. Shut the NAS down and disconnect its cables before removing the slot covers. Synology’s troubleshooting guidance for an unrecognized M.2 SSD is to recheck the installation: the SSD must be fully inserted, with the lever released to hold it in place.
Separate one missing drive from multiple missing drives
If one drive is missing, check that drive and its bay. If known-good blank drives go missing in two or more bays after the policy check, ask Synology to diagnose the enclosure. Synology’s manual isolates a problem drive by replacing it with a new one and rebooting, but an existing pool changes the data risk. Check its state in DSM and consult Synology before removing a member or starting a rebuild.
For a single missing drive:
- Test the same bay with a blank drive you know works. If that drive appears in Storage Manager, the original drive or its connection becomes more likely; confirm the pool state before replacement.
- If the blank drive is also missing in that bay, the bay itself may be at fault. That is a support case, not a DIY repair.
For multiple missing drives, rule out the policy case first. Several third-party drives missing on DSM older than 7.3 can reflect the 2025 drive policy; do not call it a multi-bay hardware failure without further checks. On DSM 7.3 or later, known-good blank drives missing across two or more bays warrant an enclosure diagnosis by Synology support.
Where people disagree is whether to shuffle drives between bays to find a bad slot. We recommend against it on a NAS that already holds data. Test only with blank drives or empty bays. Do not move drives out of a working storage pool or insert a drive holding data just to test a bay, because the manual’s format warning applies to drives that contain data.
When to contact Synology about the drive, enclosure, or existing data
Contact Synology support when a known-good drive is still missing, when two or more bays fail, or when the missing drive belongs to a storage pool holding data you have not backed up. Do not open the enclosure yourself: the manual says troubleshooting and repairs should happen only as authorized or directed by Synology Technical Support.
The manual’s checklist includes checking internal connectors under the top cover; leave that step to support. Synology’s warranty terms exclude products that have been disassembled without Synology’s authorization.
Synology also maintains a Knowledge Center article for installed drives that do not appear in Storage Manager.
Have this information ready before you contact support, as the manual recommends:
- The product model name and the serial numbers of your Synology products
- A description of the problem, including which bays or M.2 slots are affected
- The exact wording of any error messages in DSM
- Your hardware and software configuration, including the DSM version and drive models
The DS925+ carries a 3-year hardware warranty, extendable to 5 years with Extended Warranty Plus in Europe and North America. Warranty service does not cover rescuing stored data. Synology asks you to back up before returning a product, and it may remove data while servicing it.
Replacement decisions after diagnosis: drive, repair, or four-bay enclosure
Replace only what the diagnosis points to. A single failed drive calls for a replacement drive. A bay or enclosure fault within warranty calls for a Synology repair or replacement. Buying a new DS925+ makes sense only after support confirms the unit cannot be fixed, and you still need its four bays and expansion option.
AD / Sponsored: This section contains affiliate links. Fixory may earn a commission from qualifying purchases at no extra cost to you.
If one drive is the problem
If testing and DSM show one drive has failed, choose a compatible replacement of suitable capacity and follow Synology’s repair guidance for your pool. Do not create a new pool on a drive holding data you need. Synology lists its Plus Series 3.5″ SATA HDDs as compatible DS925+ accessories. On DSM 7.3 or later, a non-validated third-party SATA drive can also be used for a storage pool.

Please check the Amazon product page for the latest price and availability.
If the DS925+ enclosure needs replacement
If Synology support confirms the DS925+ itself is faulty and the problem cannot be resolved through repair or warranty, a replacement enclosure is the remaining option. The DS925+ is sold diskless, so no drives are included. Confirm with Synology how to move your existing drives and what that means for your data before switching units.
For the support-confirmed replacement case, check the DS925+ four-bay diskless enclosure.

Please check the Amazon product page for the latest price and availability.
If a failed enclosure has you considering other brands, our UGREEN DXP4800 Pro vs Synology comparison covers that decision.
Frequently Asked Questions
Will installing a drive that contains data erase it?
It can erase data during setup or formatting. The DS925+ manual warns that a drive containing data can be formatted when installed. Do not use such a drive to test an empty bay; if it belongs to an existing pool, get model-specific recovery or migration guidance first.
Can I use a third-party NVMe SSD as a storage pool?
Not unless the SSD is on Synology’s compatibility list. Synology’s DS925+ specifications state that creating M.2 storage pools requires Synology-verified SSDs, and the DSM 7.3 announcement keeps that requirement for M.2 storage pools and cache. Check the exact SSD model against the list before buying.
How We Researched
This article is based on Synology’s official DS925+ specifications, the DS925+ product manual, and Synology’s DSM 7.3 announcement, plus one independent DS925+ review. We have not conducted hands-on lab testing. Behavior described here is attributed to Synology’s documentation, and the single reviewer’s observation is identified as such.
Conclusion
A missing drive on a DS925+ may involve the DSM version, an M.2 compatibility limit, drive seating, or a hardware fault. Check those in that order, test only with blank drives, and never format a drive that holds data. If known-good drives still go missing across bays, stop and let Synology support diagnose the enclosure.