
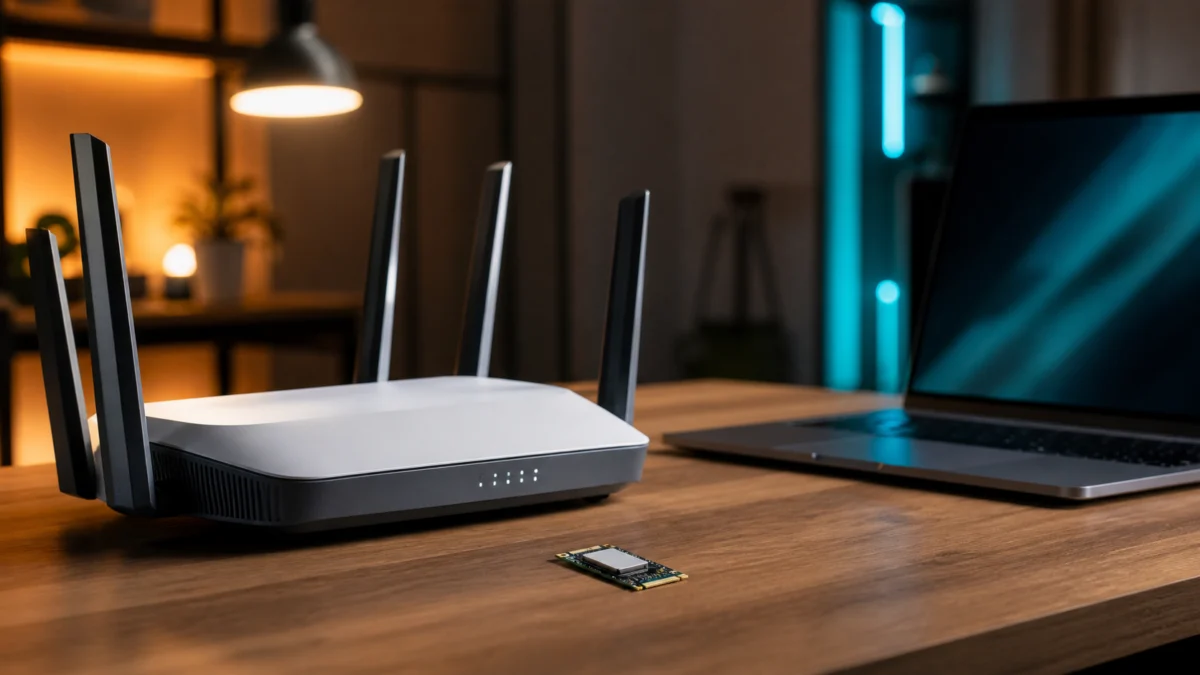
You’ve installed a Wi-Fi 7 router, plugged in an Intel BE200 adapter, and expected to see blazing-fast 320MHz channel widths in Windows 11. Instead, the 320MHz option is nowhere to be found—or your connection silently falls back to 160MHz and caps out well below its potential. This is one of the most common complaints among early Wi-Fi 7 adopters, and it has nothing to do with faulty hardware.
The root cause is almost always one of four things: your Windows 11 build is too old, your Intel BE200 driver is outdated, your router is broadcasting at 160MHz by default, or a regulatory domain setting is suppressing your 6GHz radio entirely. Each of these has a concrete fix. This guide walks you through each one in the order you should try them.
Note: If you’re on an AMD motherboard and your system won’t POST at all after installing an Intel BE200, that’s a separate hardware incompatibility issue—not a driver or settings problem. We’ve covered that scenario in detail in our guides on the Intel BE200 AMD incompatibility fix and the Intel BE200 AMD setup guide. The steps below apply to systems where Windows boots normally but 320MHz simply doesn’t appear.
Why Your Wi-Fi 7 320MHz Channel Isn’t Showing Up
Wi-Fi 7’s 320MHz channel width operates exclusively on the 6GHz band, and the entire chain—your operating system, your adapter driver, and your router—must meet specific requirements simultaneously. If any one link in that chain falls short, Windows silently downgrades your connection.
According to Microsoft’s official documentation, full 802.11be capabilities including 320MHz channel negotiation require Windows 11 Version 24H2 (Build 26100.2033 or higher) as a strict baseline. Running Windows 11 23H2 or older forces any Wi-Fi 7 adapter into a Wi-Fi 6E fallback mode, hard-capping channel width at 160MHz regardless of your hardware.
On the driver side, Intel has officially confirmed that BE200 driver versions prior to 23.30.0 contain functional limitations that prevent the OS from properly addressing the 320MHz spectrum. And at the router level, TP-Link’s own documentation acknowledges that their routers default to “Auto” channel widths, which frequently falls back to 160MHz—a behavior shared by ASUS and Netgear devices as well.
In short: the hardware is capable. The software and configuration stack around it just needs to be aligned correctly.
Quick Fix Checklist: Run These First
- Confirm your Windows 11 build is 24H2 (Build 26100.2033 or higher) — run
winverto check - Confirm your Intel BE200 driver version is 23.30.0 or higher (ideally 24.30.1.1) — check in Device Manager
- Log into your router’s management interface and verify the 6GHz channel width is explicitly set to 320MHz, not left on Auto
- Confirm your router’s security setting for the 6GHz band is WPA3-Personal with AES encryption
- Run
netsh wlan show wirelesscapabilitiesin an elevated PowerShell window to confirm Windows sees 802.11be support
If any of these fail, the corresponding fix section below resolves it.
Fix 1 — Update Windows 11 to Version 24H2
This is the most common reason 320MHz doesn’t appear, and it’s the first thing to address. Windows 11 23H2 lacks the kernel-level network stack integrations required to manage 802.11be protocols and 320MHz channel widths. Microsoft has officially confirmed that upgrading to 24H2 is mandatory for full Wi-Fi 7 functionality—there is no workaround for older builds.
- Press Windows Key + R, type
winver, and press Enter. - Check the OS Version in the dialogue box. If it reads 23H2 or older, proceed with the update.
- Go to Settings → Windows Update and click Check for updates.
- If the 24H2 feature update is offered, install it and reboot.
- If 24H2 is not offered automatically, download the Windows 11 Installation Assistant from Microsoft’s official software download page to force the upgrade.
- After upgrading, re-run
winverand confirm the build reads 26100.2033 or higher.
Enterprise users note: According to Microsoft’s IT Pro documentation, WPA3-Enterprise (802.1x) authentication is not compatible with Wi-Fi 7 in initial 24H2 release builds. Full WPA3-Enterprise support requires specific preview updates targeting late 2025 or the 25H2 release cycle.
Fix 2 — Install the Correct Intel BE200 Driver
Windows Update is not a reliable source for Wi-Fi 7 adapter drivers. Microsoft’s hardware catalog regularly lags behind Intel’s direct OEM releases by several months. Early driver revisions for the BE200—such as version 23.20.0.4—contained software logic errors that blocked the OS from addressing the 320MHz spectrum entirely.
Intel has officially confirmed that drivers prior to the 23.30.0 branch have limited functionality and cannot support 320MHz on Windows 11. The currently recommended versions are 23.90.0.2 or the latest 24.30.1.1 branch.
- Go to Intel’s official support page for the Wi-Fi 7 BE200 and download the latest Intel Wireless Wi-Fi Drivers for Windows 11.
- Confirm the downloaded driver version is newer than 23.30.0. For optimal 320MHz stability, target version 23.90.0.2 or 24.30.1.1.
- Right-click the Windows Start button and open Device Manager.
- Expand Network adapters, right-click Intel(R) Wi-Fi 7 BE200 320MHz, and select Uninstall device.
- Check the box labeled “Attempt to remove the driver for this device”. This step is critical—it purges corrupted driver telemetry and prevents Windows from automatically rolling back to the broken version.
- Restart your machine to clear the kernel memory cache.
- After reboot, run the downloaded Intel installer to provision the updated driver directly to the OS kernel.
- Reboot once more to finalize the installation.
- Open Device Manager again and confirm the driver version now shows 23.30.0 or higher under the adapter’s Properties → Driver tab.
Fix 3 — Force 320MHz in Your Router’s Settings
Even with a correctly configured Windows environment, 320MHz will not appear if your router is suppressing it at the access point level. Many routers default to 160MHz on the 6GHz band to maximize compatibility across mixed-device environments. This must be overridden manually. The steps differ significantly by brand.
Netgear (Nighthawk RS700, RS300, RS500 series)
Netgear’s firmware doesn’t expose channel width as a direct toggle. Instead, it ties channel width to link speed selection. According to Netgear’s official documentation, selecting “up to 2.9 Gbps” forces 80MHz, “up to 5.8 Gbps” forces 160MHz, and only selecting “up to 11.5 Gbps” enables 320MHz.
- Access your Netgear router’s web management GUI via its IP address.
- Navigate to the advanced wireless settings for the 6GHz radio.
- Locate the speed or mode configuration dropdown.
- Select “up to 11.5 Gbps” and save the settings.
ASUS (ROG Rapture GT-BE98 Pro and similar)
ASUS officially recommends isolating older legacy devices on a separate IoT network before enabling 320MHz, as the ultra-wide channel can cause compatibility collisions with legacy smart home hardware.
- Connect via Ethernet and open
http://www.asusrouter.comwhile connected to the router. For details, see ASUS’s official Web GUI login instructions. - Navigate to the [Network] tab and select your primary Wi-Fi profile.
- Locate the Wi-Fi 7 mode toggle and set it to Enabled.
- Under advanced professional settings, set the 6GHz-2 channel bandwidth explicitly to include 320MHz.
- Change the WPA encryption setting to AES to satisfy 6GHz band security requirements.
- Save and apply all changes.
TP-Link (Deco BE85, Archer BE800 series)
- Access your router via the web management page at tplinkwifi.net or through the TP-Link Tether mobile app.
- Navigate to Advanced → Wireless → Wireless Settings.
- Under the 6GHz network configuration, locate the Channel Width dropdown menu.
- Change the setting from the default Auto to explicitly select 320MHz (or the 20/40/80/160/320MHz mixed mode option).
- Save and apply the settings.
Fix 4 — Registry Edits (Advanced Users Only)
If your OS, driver, and router are all correctly configured but 320MHz still doesn’t appear, a localized OS registry issue may be preventing Windows from recognizing the 6GHz band and 802.11be protocols. Direct registry modification can resolve this in isolated cases.
⚠️ Warning: Modifying the Windows Registry carries a real risk of system instability. Incorrect entries within the CurrentControlSet directory can cause permanent loss of wireless connectivity or boot failures. Create a System Restore point before proceeding. This fix is intended for advanced users only.
- Press Windows Key + R, type
regedit.exe, and press Enter to open the Registry Editor with Administrator privileges. - Navigate to:
HKEY_LOCAL_MACHINE\SYSTEM\CurrentControlSet\Control\Class\{4d36e972-e325-11ce-bfc1-08002be10318} - Expand the
{4d36e...}key. You will see several four-digit subkeys (e.g.,0000,0001,0002). Click through each one and check the DriverDesc value on the right pane until you locate the subkey for your Wi-Fi 7 adapter (e.g., “Intel(R) Wi-Fi 7 BE200 320MHz”). - To force 6GHz visibility: right-click an empty space in the right pane, select New → DWORD (32-bit) Value, name it exactly
Is6GhzBandSupported, and set its value data to1. - To mandate Wi-Fi 7 operational mode: locate or create a String Value named
IEEE11nModeand set its value data to4, which corresponds to the 802.11be operational standard in the Windows networking stack. - Close the Registry Editor and perform a full system reboot to commit the changes.
Non-Intel Adapters: Qualcomm and MediaTek Fixes
Due to the confirmed hardware incompatibility between Intel BE200 adapters and AMD platforms, many users switch to Qualcomm or MediaTek chipsets for Wi-Fi 7 on AMD systems. These alternatives introduce their own specific troubleshooting requirements.
Qualcomm NCM865 (FastConnect 7800)
Users of this chipset—including those with boards like the MSI MEG X870E—frequently report link speeds artificially capped around 300 Mbps or Bluetooth audio failures. The cause is consistently outdated drivers sourced from Windows Update.
- Driver sourcing: Standard motherboard vendor pages are often heavily outdated for Qualcomm NCM865. Go to the Microsoft Update Catalog website and search manually for the latest Qualcomm NCM865 or FastConnect 7800
.cabfiles. - Manual installation: Download and extract the
.cabarchive into a local folder. In Device Manager, right-click your adapter, select Update driver → Browse my computer for drivers, and point the wizard to the extracted folder. - Bluetooth audio conflict: If Bluetooth connects but audio fails to route, open Device Manager and expand Sound, video and game controllers. Right-click any entry labeled AMD BT Audio Device and select Disable device. This forces the audio stack to route through the Qualcomm Bluetooth module correctly.
- Code 10 errors on MSI boards: Shut down fully, unplug the power supply cable from the wall, and hold the chassis power button for 30 seconds to discharge residual motherboard capacitors. Clear the CMOS, update chipset PCIe drivers via your motherboard utility, then reboot to force a fresh PCIe hardware enumeration.
MediaTek MT7927 / MT7925
MediaTek adapters are prone to power management conflicts that cause the adapter to vanish from Device Manager after periods of inactivity.
- Hardware identification: In Device Manager, right-click the unknown Network Controller, select Properties → Details → Hardware Ids. If the output shows
PCI\VEN_14C3&DEV_7961, your adapter is a MediaTek MT7927 or MT7925. - Manual driver provisioning: Download the latest MediaTek driver package (versions 3.4.0.1063 or 5.4.0.3044 are documented as functional) from a reliable OEM source such as Lenovo or ASUS support pages. Extract the
.sys,.dat, and.dllfiles to a folder, then right-click the Network Controller in Device Manager, select Update driver, and point the wizard to the extracted directory. - Power state stabilization: Once installed, right-click the MediaTek adapter in Device Manager, open Properties → Power Management, and uncheck “Allow the computer to turn off this device to save power.” Then navigate to the Advanced tab and disable any “Sleep on WoWLAN Disconnect” settings.
Verify the Fix: Confirm 320MHz Is Active
Once you’ve applied the relevant fixes, use this command to confirm Windows is fully recognizing your Wi-Fi 7 hardware’s 320MHz capability:
- Open PowerShell or Command Prompt with Administrator privileges (right-click → Run as administrator).
- Type the following and press Enter:
netsh wlan show wirelesscapabilities
A correctly configured system outputs 802.11be under the “Radio types supported” parameter and explicitly lists support for 320MHz channel widths in the maximum channel operations section. If 802.11be does not appear, revisit Fix 1 (OS build) and Fix 2 (driver version) before attempting anything else.
When to Stop Troubleshooting (Hard Limits)
Some 320MHz failures cannot be resolved through software, settings, or registry edits. Recognizing these boundaries saves time and prevents accidental system damage.
Intel BE200 on AMD motherboards: If your system refuses to complete POST after installing an Intel BE200 on an AMD board (X670, B550, B650 chipsets), this is a permanent BIOS-level incompatibility with AMD’s Approved Vendor List (AVL). Software fixes do not resolve it. Remove the Intel adapter and replace it with an AMD-compatible Wi-Fi 7 chipset such as the Qualcomm NCM865 or MediaTek MT7927. See our dedicated guides for full details: Intel BE200 AMD incompatibility fix and Intel BE200 AMD setup guide.
Regulatory domain restrictions: In certain regions, local telecommunications authorities restrict 6GHz broadcast power or availability. If your Windows driver detects a restricted country code, or if your router is locked into Outdoor Mode to satisfy local regulations, the 6GHz radio is suppressed at the firmware level. Attempting to bypass regulatory locks via registry hacks or firmware flashing is technically unreliable and may violate federal telecommunications law. This limitation is legally enforced and permanent.
Persistent Code 10 or 43 errors after a clean installation: If your system runs verified Windows 11 24H2 with the latest official drivers and Device Manager still shows a yellow warning triangle after physical reseating of the M.2 module and CMOS clearing, the adapter itself has likely suffered electrostatic discharge (ESD) damage, thermal degradation, or a manufacturing defect. At this point, software troubleshooting is exhausted. Initiate an RMA (Return Merchandise Authorization) process with your hardware vendor for a physical replacement.
How We Researched
This article is based on official documentation from Microsoft, Intel, ASUS, Netgear, and TP-Link, cross-referenced with technical community reports from r/HomeNetworking, r/techsupport, r/Amd, Intel Community forums, and the Framework Community forums. System requirement specifications are drawn from Microsoft’s Windows 11 24H2 deployment documentation and Intel’s official driver release notes. Router configuration steps reflect procedures documented in each vendor’s official support FAQs.
Final Thoughts: When to Contact Support
The 320MHz channel not appearing in Windows 11 is almost always a layered configuration problem, not a hardware failure. Work through the fixes in order: OS build first, driver second, router settings third. The vast majority of cases resolve at one of these three steps.
If you’ve completed all steps above, confirmed Windows 11 24H2 is running, installed driver version 24.30.1.1, explicitly set your router’s 6GHz channel width to 320MHz, and the netsh wlan show wirelesscapabilities command still does not show 802.11be—contact your adapter manufacturer’s support directly and reference your driver version, OS build number, and router model. If the adapter shows a persistent yellow triangle in Device Manager despite all software steps, contact your retailer or the adapter manufacturer to begin an RMA process.






Comments