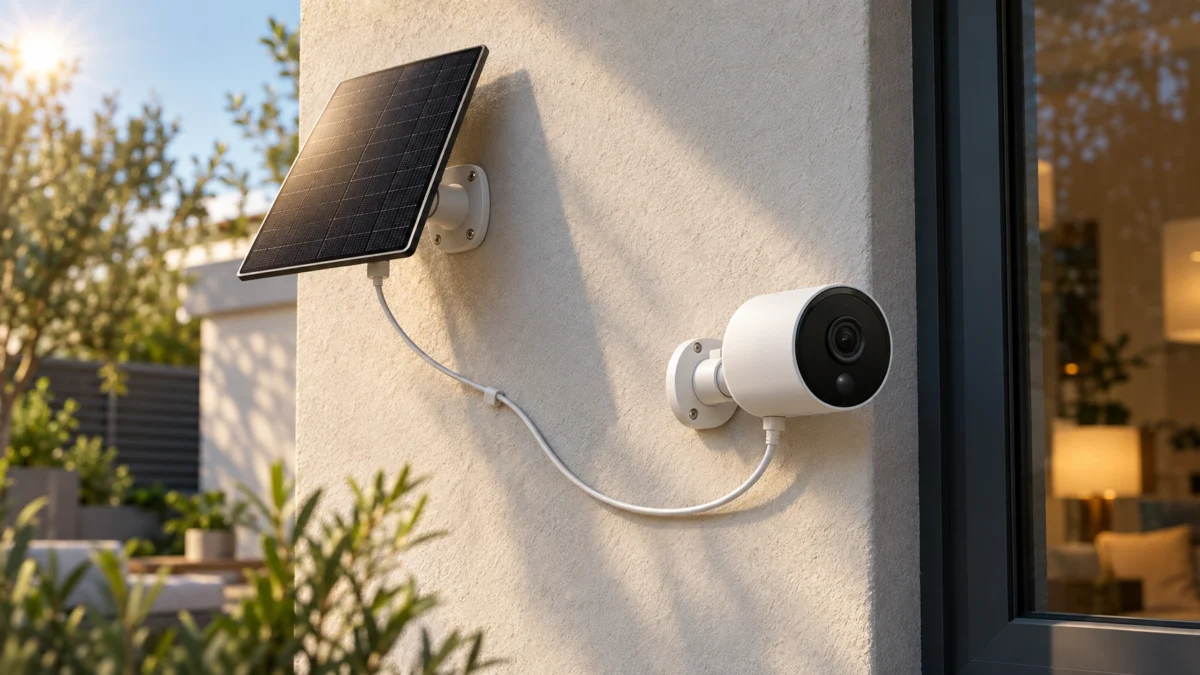
Quick Answer: What to Check First
Before you adjust anything outdoors, plug your C425 into its original USB power adapter. If the battery climbs, the battery and normal USB charging path are working, which narrows the fault to the solar panel, cable, connection, compatibility, or the camera’s solar-input path. Then check both hardware versions: the V number on your camera and the V number on your solar panel.
That second check is the one most guides skip. Tapo changed the charging port on the C425 across hardware versions, and changed the connector on the panels too. A cable that physically fits is not proof of official support.
Tapo’s documentation splits the problem into two cases, and the app tells you which one you have. Open Device Settings → Battery Status → Battery Level and read the chart, which plots battery percentage against dates:
- The line never rises. The panel is not charging at all: a connection, compatibility, or hardware fault.
- The line rises on some days only. Charging is intermittent: firmware, cable seating, battery level, angle, or temperature.
See Tapo’s solar-panel charging troubleshooting guide.
The 5-Minute Checklist Before You Change Anything
Tapo’s own troubleshooting order starts with the connection, not the sunlight. Reseat the cable, confirm the waterproof gasket matches your charging port, clean the panel, clear obstructions, and update the firmware before you move the mounting bracket or buy a replacement panel.
- Reconnect the charging cable so the connector seats fully in the port.
- Wipe the panel with a dry cloth and clear any new shade from leaves or branches.
- Update the camera to the latest firmware in the Tapo app.
- Note the battery percentage — a nearly full battery may not accept a charge.
If the chart does not change over the next few days, work through the version table below before spending anything.
Why Tapo C425 Solar Charging Fails: Four Patterns
Tapo splits solar charging problems into two documented cases: the panel cannot charge the battery at all, or it charges only intermittently. Two more patterns matter in practice: charging that pauses near a full battery, and a camera whose daily use draws more power than the panel returns.
| Pattern | What the Battery Level chart shows | Where to look first |
|---|---|---|
| No charging at all | A flat or steadily falling line, sunny days included | Adapter test, physical damage, cable seating, version match |
| Intermittent charging | Gains on some days, losses on others | Firmware, cable contact, angle, shade, temperature |
| Charging pauses near full | Line flattens at a high percentage, then resumes later | Expected protection behaviour |
| Use outpaces input | Slow decline despite visible daily gains | Event count, live view use, panel wattage, position |
The third pattern is documented behaviour, not a defect. Tapo states that the charging chip has a built-in protection mechanism against repeated charging, and that the camera should only recharge once battery power drops to around 90% of full capacity.
Match Your C425 Hardware Version With A200, A201, and A202
The C425 changed charging ports across hardware versions, and so did the panels. V1.0 and V1.20 use Micro USB, V2.0 uses what Tapo calls an older Type-C port, and V3.0 uses the current Type-C. A plug that fits is not proof of official support.
The table below combines Tapo’s US installation FAQ with the device compatibility list on each panel’s specification page. Find your camera’s version on the left, then your panel’s version along the top.
| C425 version | Charging port | Tapo A200 | Tapo A201 V1 | Tapo A201 V2.20 | Tapo A202 V1 |
|---|---|---|---|---|---|
| V1.0 / V1.20 | Micro USB | Supported, with the Micro USB gasket | Via the Micro USB adapter | Via the Micro-B adapter cable | Via the Micro-B adapter cable |
| V2.0 | Type-C (older) | Stated as not compatible | Listed as directly supported | Via the older Type-C adapter cable | Via the older Type-C adapter cable |
| V3.0 | Type-C (current) | Not listed in the pages we checked | Not listed in the pages we checked | Listed as directly supported | Listed as directly supported |
Two rows deserve attention. Tapo states explicitly that the A200 cannot work with the C425 V2, so a Micro USB era panel is no fallback for a Type-C camera. And a current A201 or A202 on a C425 V2.0 is an adapter-cable connection, not a direct one. That adapter ships in the panel box, and leaving it out produces a connection that looks right and charges nothing.
Where the official material we checked does not list a combination, that is not a blanket denial — it is undocumented on those pages, and worth confirming with Tapo support before you buy.
See Tapo’s connection and waterproof-gasket guide.
Official specifications: Tapo A201 current version and Tapo A201 V1.
See the official Tapo A202 specifications and compatibility list.
The hardware version is printed on the product label. For a Tapo camera, you can also find it in the Tapo app: open the camera, tap the gear icon, then select the camera model to view the device information. Check the panel’s label as well as the camera’s.
See Tapo’s hardware and firmware version guide.
Step-by-Step Fix: Reconnect and Retest
Work through these in order. Each step either rules out a cause or fixes it, and the sequence follows Tapo’s published troubleshooting flow. Do not skip the indoor adapter test: it confirms whether the battery and normal USB charging path work before you focus on the solar panel and its connection.
The fix takes 7 steps.
- Charge the camera from its original power adapter. Bring the C425 indoors and charge it from the adapter it shipped with. If the battery rises normally, the fault is in the panel, its cable, or the connection.
- Inspect the panel and cable for damage. Look for cracked cells, a damaged connector, and cuts or crush points along the cable and extension wire.
- Fit the correct waterproof gasket first. Insert the gasket into the charging port and seal it tightly before connecting anything. The gasket differs between Micro USB and Type-C ports, so use the supplied gasket specified for your connection.
- Handle the black O-ring the right way. Going straight into the camera’s charging port, the O-ring must be properly installed. Going through the USB adapter cable or the extension wire, remove the O-ring first.
- Add the adapter your combination requires. A Type-C panel on a Micro USB C425 needs the Micro USB adapter; a current-generation panel on a C425 V2.0 needs the older Type-C adapter cable. Connect panel to adapter, then adapter to camera.
- Update the firmware, then reposition the panel. Install any pending firmware in the Tapo app. Then aim the panel south in the Northern Hemisphere, set the tilt between 35° and 45° from horizontal, clear obstructions, and wipe the surface clean.
- Check the temperature range. Tapo gives the panel a suitable range of roughly -20°C to 45°C, while battery charging should stay within roughly 0°C to 45°C (32°F to 113°F). Protection features can stop charging until conditions return to range.
In intense sun, salt air, or alkaline environments, Tapo suggests wrapping extra tape around the extension cord’s connection points. Check the manufacturer’s installation instructions before drilling new holes, and if you rent or share the building, confirm the rules with your landlord or building manager first.
Verify the Fix in the Tapo App
Open Device Settings, then Battery Status, then Battery Level. The chart plots battery percentage against dates, so a working panel shows the line holding steady or climbing across several sunny days. A single afternoon tells you very little, especially after a firmware update or a repositioned bracket.
Several conditions are normal rather than faults, and each changes what “working” looks like on that chart:
- Cold and heat pause charging. Outside roughly 0°C to 45°C, protection features can prevent charging entirely.
- Heavy use eats the gain. Tapo’s 45-minute sunlight figure for the A201 assumes 1000 W/m², 25°C, AM1.5 and 100 triggered events per day. Busy driveways and frequent live view push the real requirement higher.
- The C425 supports detached mounting only. Because of its magnetic base, Tapo states that the C425 uses these panels in a separated installation, not combined on the panel bracket.
- One panel powers one camera. Splitting a panel between two cameras is not supported.
Solar input supplements the battery. It does not guarantee uninterrupted recording, and no camera is a substitute for other security measures.
When a Replacement Solar Panel Actually Makes Sense
Buy a new panel only after two conditions are clear: the camera charges normally from its USB power adapter, and the panel-to-camera combination is either officially unsupported or physically damaged. If both check out and charging still fails, the panel or its cable is the remaining suspect.
Fixory may earn a commission from purchases made through links on this page, at no extra cost to you.
If you do, the difference between the two current panels sits in their specifications:
- Tapo A201 — 2.5 W maximum charging power at 5.2 V, a 0.25 m cable plus a 3.8 m extension, IP65. Consider it only after confirming that the exact panel hardware version and included adapter match your C425.
- Tapo A202 — 4.5 W maximum charging power at 5.2 V, a 0.48 m cable plus a 3.6 m extension, IP65. Its higher maximum rating may matter only when solar input is the confirmed constraint; it does not compensate for shade, poor positioning, or an incompatible connection.
A higher wattage rating does not help if the real problem is a loose gasket, a missing adapter, or a shaded panel. The current A201 V2.20 and A202 pages show the same C425 connection pattern, while the older A201 V1 list differs, so the panel-version check comes first either way.

Please check the Amazon product page for the latest price and availability.

Please check the Amazon product page for the latest price and availability.
If the camera will not charge from its power adapter at all, or support confirms a fault outside warranty, replacing camera and panel together as a kit can be simpler than sourcing parts separately.

Please check the Amazon product page for the latest price and availability.
What to Collect Before Contacting Tapo Support
Tapo’s support page lists five things to include with a solar panel report, and gathering them before you open a ticket usually saves a round trip. Have the answers and the photographs ready in one message rather than sending them one at a time across several replies.
- Whether the panel worked normally before, and how long it ran before the problem started.
- Whether there has been extreme weather such as heavy rain.
- Whether the panel has ever been dropped.
- Photos showing the installation and its surroundings.
- Clear photos of the front and back of the panel, including the label with the serial number.
Add both hardware versions and a screenshot of the Battery Level chart. Warranty terms, proof of purchase requirements, and seller conditions vary by region and retailer, so confirm those with Tapo support.
Contact TP-Link US technical support.
How We Researched
This article is based on Tapo’s US support documentation and the specification pages for the A200, A201, and A202 solar panels, including the separate compatibility lists for the A201 V1 and V2.20 revisions. We have not conducted hands-on lab testing. Where a combination is not listed in those sources, we say so rather than filling the gap.
FAQ
Can I use a Tapo A200 with a Tapo C425 V2?
No. Tapo’s installation FAQ states directly that the A200 cannot work with the C425 V2. The A200 is a Micro USB panel, and the C425 V2 uses a Type-C charging port.
My panel’s Type-C plug fits the camera. Doesn’t that mean it works?
Not necessarily. Tapo classifies the C425 V2.0 port as an older Type-C port and lists current A201 V2.20 and A202 panels as connecting to it through an adapter cable. Check the compatibility list for your panel’s hardware version rather than relying on the plug shape.
Is the A202 faster than the A201?
On paper, yes: Tapo rates the A202 at 4.5 W maximum charging power and the A201 at 2.5 W. Both pages note that actual charging power varies with installation location, weather, temperature, and other environmental factors.
Conclusion
Work the problem in this order: confirm the camera charges from its power adapter, match your camera’s hardware version against your panel’s hardware version, fit the correct gasket and adapter, then fix the angle, shade, and cleanliness. Every step in that sequence is free.
Only after those checks does a replacement panel become a rational purchase, and the version table tells you which one fits. If the combination is supported, the connection is correct, and the chart still refuses to climb, collect the five items Tapo asks for and open a support case.