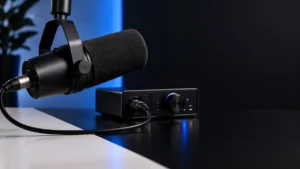
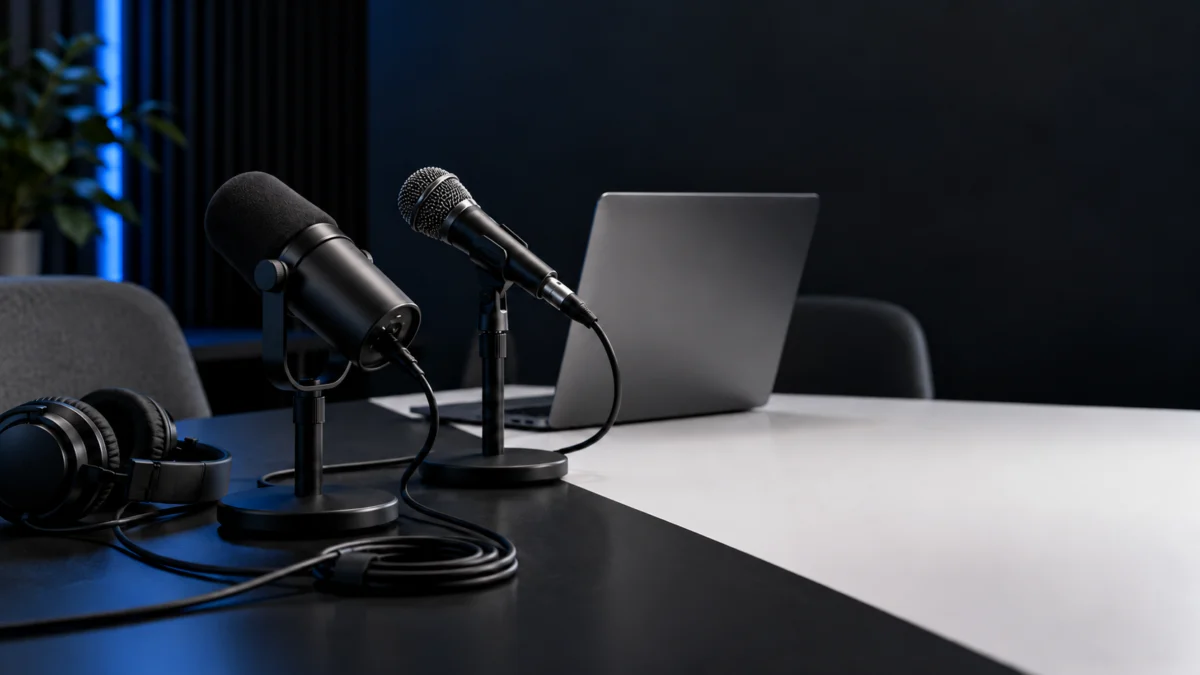
Yes, the Shure MV7i can record a second XLR microphone without a separate audio interface. Plug the guest mic into the combo XLR/¼-inch input on the back of the MV7i, connect the MV7i to your Windows PC with one USB-C cable, and control both channels in the MOTIV Mix desktop app. Shure’s MV7i user guide puts it plainly: Both microphone signals travel to the computer through the single USB-C connection.
The catch: hearing both voices in your headphones does not prove your file contains two independently editable channels. The MV7i ships in Mixdown mode, which blends both mics into one mono signal, and the headphone Monitor Mix is set separately from the recording. If you plan to edit host and guest independently, switch to Multi-Track and confirm with a test recording that your app captures both the left and right channels.
Below: what to connect, the phantom power check to make before you plug in, the MOTIV Mix settings in order, which output mode to choose, and what to check when the second mic is silent or quiet. If you already own an XLR mic, an XLR cable and headphones, none of these steps require buying anything.
Quick Checklist Before You Record
- The second mic has an XLR connector (a USB-only mic can’t use the MV7i’s input).
- You’ve checked the second mic’s manual for whether it needs phantom power.
- The MV7i’s LED panel shows a green center after connecting by USB-C.
- In MOTIV Mix, the Input tab is set to XLR and the input is not muted or mute-locked.
- The Global tab’s Audio Output Mode matches your plan: Multi-Track to edit voices separately, Mixdown for one finished mix.
- A short test recording plays back with each voice where you expect it.
What Do You Need to Add a Second XLR Mic to the MV7i?
You need the MV7i with its included USB-C cable, a second microphone with an XLR connector, an XLR cable, and wired headphones for the 3.5 mm monitor jack. The combo input accepts XLR or ¼-inch TS/TRS sources only, so a USB-only microphone can’t serve as the second mic. MOTIV Mix runs on Windows 10 and later.
| Item | Role in the setup | What to check |
|---|---|---|
| MV7i + included USB-C cable | The only connection to the PC; carries both the built-in mic and the XLR input | Use the included USB-C cable; the user guide lists a 3 m USB-C to USB-C cable |
| Second microphone (XLR) | Records the guest or co-host | Shure’s product page says the input takes a dynamic or condenser mic; check your mic’s phantom power requirement first |
| XLR cable | Connects the second mic to the combo connector | Shure recommends the highest-quality XLR cable available to you |
| Headphones (3.5 mm) | Zero-latency monitoring of both mics | Plug them into the MV7i’s monitor output |
| MOTIV Mix desktop app | Sets input type, phantom power, mute, gain and output mode | Check the app for current system requirements |
On cables, the user guide warns: A faulty or poorly connected XLR cable can also affect the built-in MV7i mic. On monitoring, the MV7i product page says you can “Monitor audio from both the Microphone and Input in real-time via the built-in 3.5mm jack.”
For Windows, the user guide lists this requirement line: The guide lists Windows 10 or later, at least 8 GB of RAM, and at least 20% free disk space. In other words, Windows 10 or later with at least 8 GB of RAM. Shure also tells readers to check the MOTIV Mix app for the latest requirements, so treat this list as a starting point.
How Do You Set Up the Second Mic in MOTIV Mix?
Connect the MV7i to your PC by USB-C, confirm the green LED, check phantom power against your second mic’s manual, then plug in the XLR mic. In MOTIV Mix, set the Input tab (input type, mute, gain) and the Global tab (output mode, Monitor Mix). Finish with a test recording, because the headphone mix alone doesn’t confirm what was saved.
The setup takes 8 steps.
- Connect the MV7i first. Plug the included USB-C cable into the MV7i and your PC, and plug your headphones into the MV7i’s 3.5 mm monitor output. A green center on the LED panel means the connection worked. An amber flashing center means it failed: unplug the MV7i, make sure the PC is awake, and plug it back in. Shure notes you may need to allow the microphone in your device settings.
- Open the MV7i settings. In MOTIV Mix, select the gear icon next to the device name. The settings panel has three tabs: Global (applies to both channels), Mic (the built-in MV7i mic) and Input (the XLR or ¼-inch source).
- Check phantom power before plugging in the second mic. The user guide says: Phantom power starts enabled, and it can harm some microphones. Check the second microphone manufacturer power requirements before making the connection. To change it: Open the settings wheel beside the MV7i in MOTIV Mix, select Input, and check XLR Phantom Power there. The MV7i also recalls the settings from the last time an XLR input was configured, so don’t assume the factory default is still active. The guide we checked doesn’t say whether this setting can be changed before an XLR device is connected; if your mic must not receive phantom power and you can’t confirm the setting is off, check with the mic’s manufacturer before connecting it.
- Plug the second mic into the combo connector. Watch the LED panel: green, amber and red ripples moving out from the center mean a device was connected. White ripples moving out from the center mean a device was connected with phantom power enabled. If you see white and your mic’s manual says it doesn’t use phantom power, recheck the Input tab setting right away.
- Set the Input tab. Shure’s description of the setting: Match Input Type to the source connected at the combo socket. Choose XLR, confirm the input isn’t muted, and check that the mute lock icon isn’t engaged. Speech mode, which enables Auto-Level Mode, the Real-time Denoiser and Popper Stopper, is the default for connected XLR inputs and fits a spoken-word guest.
- Decide how gain is handled. From the guide: Leave Auto-level enabled for automatic level control, or turn it off to use the manual gain slider. The XLR input’s adjustable gain range is 0 to +60 dB in Mixdown and Multi-Track modes. In manual mode, you can lock the gain with the lock icon; if the guest distorts, lower the gain.
- Set the Global tab. Pick the Audio Output Mode (see the next section) and adjust the Monitor Mix sliders so you can hear both the built-in mic and the XLR input in your headphones.
- Select the MV7i in your recording app and make a test file. Record about 30 seconds in which the host speaks alone, then the guest speaks alone. Play it back. In Mixdown, both voices should be in one mono signal. In Multi-Track, the host should be on the left channel and the guest on the right.
Placement matters too. Shure’s two-person tip starts with: “Record separate sound sources with each microphone.” The MV7i should pick up one person and the XLR mic the other, and the mics shouldn’t point at each other. For cardioid mics, Shure suggests at least 1 foot apart when they point in opposite directions (as with two people across a table), at least 2 feet when they are at 90 degrees, and at least 3 feet when they point the same way. Check your second mic’s guide for its polar pattern.
Mixdown, Multi-Track or Stereo: Which Output Mode Should You Use?
Use Multi-Track when you want to edit host and guest separately: the MV7i sends its own mic to the left channel and the XLR input to the right. Use Mixdown, the default, when you want a single mono mix with no further editing. Stereo mode is meant for a stereo ¼-inch TRS source; with an XLR mic connected it behaves like Mixdown.
| Mode | What the PC receives (per Shure’s user guide) | Best for |
|---|---|---|
| Mixdown (default) | Both mics mixed to one mono output | Recordings or calls you won’t edit |
| Multi-Track | MV7i mic on the left, XLR input on the right of a stereo channel | Podcasts where you’ll balance, cut or process each voice separately |
| Stereo | With an XLR mic connected: the same as Mixdown | Stereo ¼-inch TRS sources, not a second XLR mic |
Select Audio Output Mode in the Global tab before making the test recording.
Our recommendation for a two-person podcast is Multi-Track. Once two voices share one mono signal, you can’t rebalance them separately, so Mixdown only makes sense when the recording is final as captured.
Why Hearing Both Voices Isn’t Proof of Two Tracks
The headphone mix and the recorded output are controlled in different places. Shure describes the Global tab setting this way: Monitor Mix adjusts what you hear from the microphones and computer in the attached headphones. To change how loud each voice is in the recording, use the Gain setting in the Mic and Input tabs instead.
Shure’s product page summarizes Multi-track as two separate mono tracks, while the user guide specifies the left and right channels of one stereo channel. We follow the user guide’s more detailed routing. The guide doesn’t cover how individual Windows recording apps handle those two channels, so if your app offers a mono or stereo choice for the input, pick stereo and confirm with the test file. To edit the voices independently, split the stereo recording into its left and right channels in your editor.
Why Is the Second Mic Silent, Quiet or Cutting Out?
Before replacing anything, rule out the settings Shure’s user guide covers: a muted or mute-locked input, the wrong input type, phantom power that’s off for a mic that needs it, low gain, Smart Gate behavior, or a Monitor Mix slider pulled down. Try a known-good XLR cable you already have before buying replacement gear, since Shure links low-quality cables to several input problems.
| Symptom | Likely cause (per Shure’s guide) | What to try |
|---|---|---|
| Guest silent; one side of the LED shows red ripples | The input is muted | Unmute it in the Input tab, or touch side B of the panel in a Split LED mode |
| Touching the panel does nothing and it flashes red 3 times | Mute Lock is on | Turn off Mute Lock in MOTIV Mix |
| Touching the panel mutes both people | Combined LED mode (the default) mutes both inputs from anywhere on the panel | Switch to a Split mode: each side mutes its own input, the center mutes both |
| Condenser mic silent | Phantom power is off for a mic that needs it | Enable XLR Phantom Power in the Input tab if the mic’s guide says it needs it |
| Guest distorted with Auto-level off | Clipping from too much gain | Lower the input gain |
| Guest distorted with Auto-level on | Placement and level dynamics | Try different mic placements; if it continues, consider manual gain |
| Guest’s channel drops in volume during pauses | Smart Gate reduces a channel’s volume when that person falls silent | This is how Smart Gate is designed for speech; review the Smart Gate setting in the Global tab if you prefer otherwise |
| Nothing in the headphones, although MOTIV Mix shows the mic | Monitor Mix blend | Raise the Monitor Mix sliders |
| MV7i is muted but audio still passes, or there’s static | Low-quality XLR cable | Unplug the XLR input, power-cycle the MV7i by reconnecting USB-C, then try a different XLR cable |
| Voices sound higher or lower pitched than normal | Sample rate mismatch between mic and computer | See Shure’s FAQ on sample rate mismatch; the guide notes Windows 10 v2004 (April 2020) solves this |
| MV7i not detected | Connection not established | Unplug and reconnect; the LED panel turns green when connected |
On mute lock, the guide is explicit: Mute Lock prevents touch-panel mute changes; three red flashes indicate that you must change the lock setting in MOTIV Mix. It’s also worth knowing before a session that in the default Combined LED mode, a guest who taps the panel mutes both of you.
If the second mic is still silent after these checks and a different XLR cable, follow Shure’s general steps: quit and restart MOTIV Mix, reboot the PC, and check for a firmware update in MOTIV Mix (a Firmware Update Available button appears in the MV7i settings panel; keep the MV7i connected while the LED pulses amber). If problems continue, Shure’s guide directs you to Shure Service and Repair.
Do You Need to Buy a Second XLR Mic for the MV7i?
Only if you don’t already own one. An XLR mic, cable and headphones you already have are the first thing to try, once you’ve checked the mic’s phantom power requirement. If you need a guest mic, Shure’s own MV7i podcast guide names the SM7B, and the SM58 family offers a cardioid dynamic vocal mic. Neither purchase fixes a settings problem.
Shure’s podcast guide for the MV7i lists guest options “from the iconic SM7B to an entry level vocal mic like the PG58.” It also states that the MV7i’s preamp “has enough to handle even low-output mics.” We haven’t measured this, so before adding an inline booster or a separate interface, try the Input tab gain and mic placement first.
Shure SM7B: Premium-Tier Guest Mic
Shure describes it this way: “The SM7B dynamic microphone has a smooth, flat, wide-range frequency response appropriate for music and speech in all professional audio applications.” It uses a yoke mount with a captive stand nut and ships with the A7WS detachable windscreen for close-talk use. Shure’s listed box contents are the SM7B, the A7WS windscreen and an RPM602 switch cover plate, so plan for a stand or boom arm and an XLR cable separately. Don’t confuse it with the SM7dB, which has a built-in preamp.
On Amazon US the listing is titled “Shure SM7B Dynamic Vocal Microphone for Podcasting & Streaming.” Check the official SM7B product page.
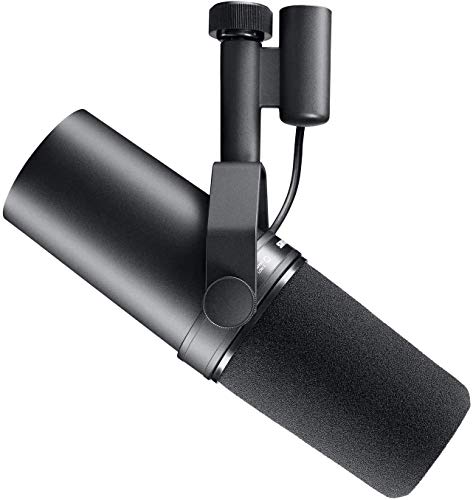
Please check the Amazon product page for the latest price and availability.
- Buy if: you need a dedicated guest mic for close-talk speech and want the premium-tier option Shure pairs with the MV7i in its podcast guide.
- Don’t buy if: you already own a working XLR mic, your problem is one of the settings above, or you don’t want to add a stand or boom arm.
Shure SM58S: Dynamic Vocal Mic with an On/Off Switch
Shure lists the SM58 family as “Cardioid (unidirectional) dynamic,” with a frequency response tailored for vocals. Shure’s US product page defaults to the SM58-LC; the switch-equipped version on Amazon US is a different SKU titled “Shure SM58S Pro XLR Dynamic Vocal Microphone with On/Off Switch.” Don’t assume the SM58-LC’s box contents apply to the SM58S, and check whether a cable is included before ordering.
If you use an SM58S, make sure its switch is on before you troubleshoot a silent input. See the official SM58 product page.

Please check the Amazon product page for the latest price and availability.
- Buy if: you want a cardioid dynamic vocal mic for a guest and like having a physical on/off switch.
- Don’t buy if: you already have a working XLR mic, or you’d rather avoid a switch a guest might leave off.
How We Researched
This guide is based on Shure’s official MV7i user guide, the MV7i product page, Shure’s “How to Use MV7i and MOTIV Mix for Podcasters” article (January 8, 2025), the official SM7B and SM58 product pages, and Amazon US product data used only to confirm product identity. We have not conducted hands-on testing or measured gain, noise or latency. Where the product page summary and the user guide differ, as with Multi-Track routing, we followed the user guide. MV7i firmware, MOTIV Mix versions and specific Windows builds were not stated in these sources, so menus may differ on your setup.
FAQ
Can I plug a USB microphone into the MV7i as the second mic?
No. The MV7i’s combo input supports XLR or ¼-inch TS/TRS sources, and its USB-C port is the connection to your computer. A USB-only mic isn’t one of the input types the MV7i accepts.
Does the MV7i record the guest on a separate track in Windows?
Only in Multi-Track mode, where the MV7i places its own mic on the left channel and the XLR input on the right. Shure’s guide doesn’t document per-app handling on Windows, so set your app to record the MV7i in stereo where it offers that choice, and verify with a short test file.
Why did my input settings change when I plugged in a different source?
The MV7i remembers the last-used settings for XLR and ¼-inch inputs separately. Connecting an XLR mic recalls the last XLR configuration, and connecting a ¼-inch source recalls the last ¼-inch configuration. Recheck the Input tab, including phantom power, after switching sources.
Conclusion
A second XLR mic on the MV7i needs nothing more than the mic, an XLR cable and the MV7i’s single USB-C connection. Two settings decide whether the session is usable: phantom power, checked against the second mic’s manual before you plug it in, and the output mode, with Multi-Track if you’ll edit voices separately and Mixdown only if the recording is final as captured. Trust the test file, not the headphones. Consider an SM7B or SM58S only if you don’t already own a working XLR mic.