
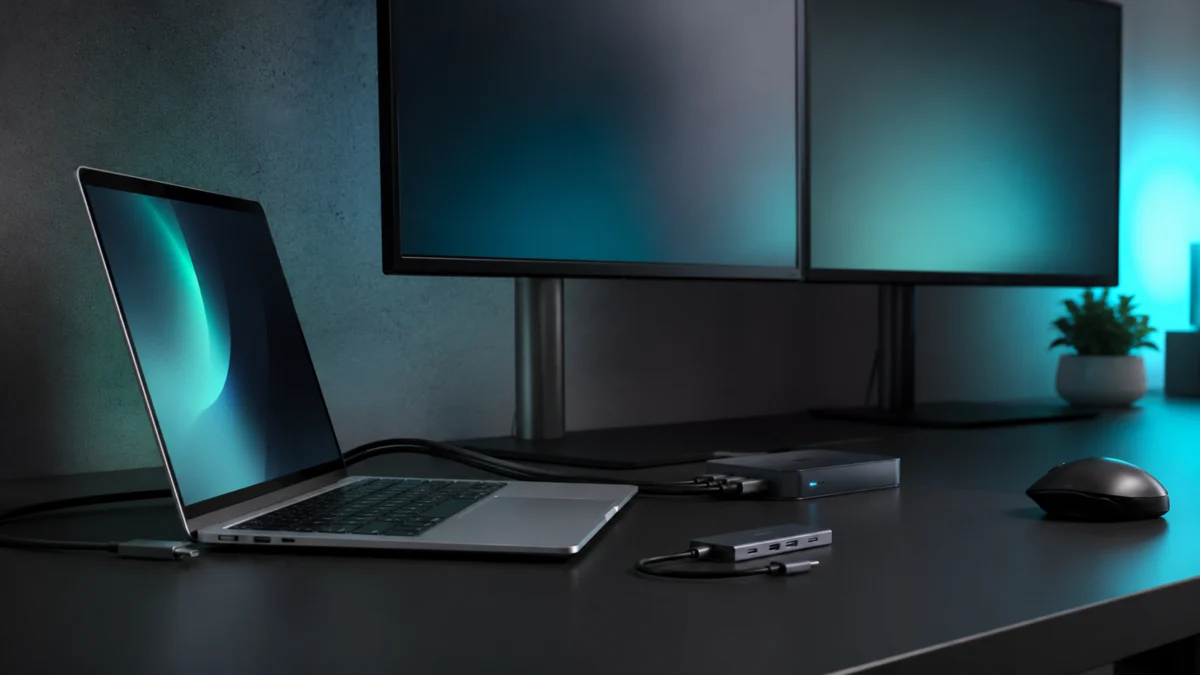
The M4 MacBook Air is the first MacBook Air in the Apple Silicon era to support two external monitors with the lid open — no clamshell mode, no workarounds required. Before buying any dock, hub, or adapter, there are three things to confirm: whether your hardware uses a genuine Thunderbolt connection (not just USB-C), whether a dock routes its second video output through MST (which no Mac supports), and whether you need HDCP-compatible streaming on those external displays.
Most USB-C hubs marketed as “dual monitor” adapters will show only a mirrored image on a Mac — not two separate extended screens. This is the most frequently confirmed issue across Apple Community forums and hardware discussion threads: buying a USB-C hub with two HDMI or DisplayPort outputs and expecting both to show independent screens on a Mac. According to multiple confirmed threads on the Apple Community forums, this result is not a setup error or a defect — it is the expected behavior when a dock uses MST (Multi-Stream Transport) internally. Macs do not support MST. The second monitor either shows a mirrored copy of the first or goes black.
A second confirmed pattern: DisplayLink docks cause Netflix, Disney+, Amazon Prime Video, and other HDCP-protected streaming services to display a black screen on the DisplayLink-connected monitor. According to Plugable’s official knowledge base, macOS implements content protection system-wide whenever a DisplayLink display is detected — blocking DRM video output on that display regardless of dock brand or driver version.
Both issues are easy to avoid by confirming the connection technology before purchasing. This guide explains what each connection method actually does, where it fails on a Mac, and which setup fits your desk before you spend money on something that won’t work.
- Can the M4 MacBook Air use two external monitors?
- Why some USB-C hubs show only a mirror
- Thunderbolt dock, USB-C hub, or DisplayLink — which do you need?
- Buying checklist: ports, resolution, refresh rate, power, and clamshell mode
- Best setup patterns for M4 MacBook Air users
Quick Comparison: Connection Methods for M4 MacBook Air Dual Monitors
| Method | Driver required? | HDCP streaming? | Max resolution per display | Best for |
|---|---|---|---|---|
| Direct cable (one Thunderbolt 4 port per display) | No | ✅ Yes | 6K at 60Hz or 4K at 240Hz | Minimal setup, Bluetooth peripherals only |
| Thunderbolt dock | No | ✅ Yes | 6K at 60Hz (native) | Full desk: USB ports, Ethernet, and charging in one cable |
| DisplayLink dock | Yes (DisplayLink Manager app) | ❌ No | 4K at 60Hz (typical) | Adding a 3rd display to M4; M1/M2/M3 Mac users |
| Standard USB-C hub (MST-based) | No | — | Mirror only on Mac | Windows PCs — will not extend desktop on any Mac |
Can the M4 MacBook Air Use Two External Monitors?
Yes — and with the lid open. According to Apple’s official support page for M4 MacBook Air display configurations, the M4 MacBook Air simultaneously supports the built-in display at full native resolution plus up to two external displays. This is a significant change from the M3, which required clamshell mode for a dual-external-monitor setup.
The exact specifications from Apple:
- Two external displays connected: up to 6K resolution at 60Hz or 4K at 144Hz per display (both via the Thunderbolt 4 ports)
- One external display connected: up to 8K at 60Hz, 5K at 120Hz, or 4K at 240Hz
One clarification worth confirming before you buy anything: closing the lid on the M4 MacBook Air does not increase the number of external displays supported. Per Apple’s documentation, clamshell mode works on the M4, but it no longer unlocks additional display outputs as it did on the M3. The M4 supports two external displays whether the lid is open or closed.
The M4 MacBook Air has two Thunderbolt 4 ports in addition to MagSafe (charging only) and a 3.5mm headphone jack. To use two external monitors without a driver, each display must connect to one of these two Thunderbolt 4 ports — either directly via cable or through a Thunderbolt dock.
Why Some USB-C Hubs Show Only a Mirror — Not Two Separate Screens
Most USB-C hubs with two video outputs use MST (Multi-Stream Transport) to carry both display signals over a single USB-C connection. MST is a DisplayPort protocol that splits one data stream into two independent video outputs. It works well on Windows. On every Mac with Apple Silicon — including the M4 MacBook Air — MST is not supported. When you connect a hub that uses MST internally, the second display shows a mirror of the first or goes dark, regardless of what Display Settings shows.
This is not something you can fix in System Settings or by adjusting cable configurations. It is a hardware-level decision by Apple, confirmed across multiple Apple Community support threads. Users who have switched from MST-based hubs to genuine Thunderbolt docks consistently report the problem resolving immediately.
How to check if a hub uses MST before buying:
- Look for “MST” in the spec sheet. “DisplayPort MST support” on a product page means it will not extend two displays on a Mac.
- Check whether the listing mentions DisplayLink or a driver. If it says “requires DisplayLink driver for Mac,” it uses DisplayLink — not MST. That is a different situation with its own trade-offs (covered below).
- Verify the Thunderbolt logo. A genuine Thunderbolt dock carries the Thunderbolt lightning bolt icon and uses a different signaling path that Macs do support natively.
- Be cautious of listings that say “supports two monitors on Mac” without specifying the technology. Some MST-based products use this language in their titles. Look for the technology disclosure in the spec sheet, not the headline.
Thunderbolt Dock, USB-C Hub, or DisplayLink: Which One Do You Actually Need?
For the M4 MacBook Air, a Thunderbolt dock is the most reliable path to two native extended displays. DisplayLink is a valid alternative that requires driver installation but trades HDCP streaming compatibility for flexibility. Standard USB-C hubs based on MST will not extend two displays on any Mac. Here is a breakdown of when each option makes sense — and where each one fails.
Note: Some links in this section may be affiliate links. Fixory may earn a small commission if you purchase through them, at no additional cost to you.
Option 1: Direct Cable Connection (No Dock)
The simplest and lowest-cost path to two extended external monitors: one USB-C to DisplayPort (or USB-C to HDMI 2.0 / 2.1) cable from each Thunderbolt 4 port directly to a display. No dock, no driver, no MST complications. Because each cable occupies one of the two Thunderbolt 4 ports, the Mac recognizes each connected display as an independent native output.

Please check the Amazon product page for the latest price and availability.
The trade-off is port availability. With both Thunderbolt 4 ports occupied by display cables, there are no remaining USB-C ports for data connections. MagSafe handles charging, so power is covered — but if you use a wired keyboard, mouse, external drive, or Ethernet, you will need a separate USB-A hub or adapter, which adds complexity. This setup works best with Bluetooth peripherals.
✅ Buy if…
- You only need two displays and use a Bluetooth keyboard and mouse
- You want the lowest upfront cost for a native dual-monitor output
- You need full HDCP streaming support on both external displays
- You want zero driver installation and maximum simplicity
❌ Don’t buy if…
- You need USB-A ports, Ethernet, or wired peripheral connections at your desk
- You want a single-cable dock setup from MacBook to desk
- Your monitors have only HDMI 1.4 ports and you need 4K at 60Hz (HDMI 2.0 or DisplayPort required)
Option 2: Thunderbolt Dock
A Thunderbolt dock connects to the M4 MacBook Air via a single Thunderbolt 4 cable and provides multiple downstream ports — including two or more display outputs — without MST and without a driver. The Mac treats the dock’s display outputs as native Thunderbolt connections. Both monitors extend your desktop at full resolution, and HDCP streaming works correctly on all connected displays.
Thunderbolt docks typically bundle USB-A ports, Ethernet, SD card slots, and pass-through charging alongside the display outputs — making them the practical choice for a full desk setup that needs a single cable to the MacBook. Thunderbolt docks are typically priced higher than USB-C hubs, reflecting the Thunderbolt hardware and certification required. Brands confirmed across multiple Mac-focused hardware discussions as reliable for Apple Silicon include CalDigit, OWC (Other World Computing), and Sonnet.
Check Thunderbolt 4 docks on Amazon
/
Official site
✅ Buy if…
- You need two extended displays plus USB-A ports, Ethernet, and single-cable charging from one connection
- You want HDCP-compatible streaming (Netflix, Disney+, etc.) on external displays
- You want no driver installation and native 4K or higher refresh rates
- Your budget allows for a higher upfront investment
❌ Don’t buy if…
- Budget is limited — Thunderbolt docks are the most expensive option in this comparison
- You need more than two extended external displays (Thunderbolt alone will not add a third on M4)
Option 3: DisplayLink Dock
DisplayLink technology routes display signals over USB by processing the video feed in software on the Mac’s CPU, then transmitting it to a dedicated DisplayLink chip in the dock. A DisplayLink dock requires installing the DisplayLink Manager application from Synaptics. Once installed, the dock’s display outputs work as an extended desktop across all Mac generations — making it useful for M1, M2, and M3 MacBook Air users who lack native dual-display support, and for M4 users who want to add a third display beyond the two native Thunderbolt outputs.
Check DisplayLink docks on Amazon
/
Official site
The key limitation to understand before buying: DisplayLink blocks HDCP-protected streaming on Mac. Netflix, Disney+, Apple TV+, Amazon Prime Video, Hulu, and YouTube TV will show a black screen on any display connected through DisplayLink. According to Plugable’s official documentation and multiple independently confirmed support forum reports, macOS treats the DisplayLink driver as a screen-sharing surface and applies content protection system-wide. This behavior cannot be resolved by updating the driver, switching browsers, or changing display settings. It is a macOS-level content protection decision.
Additional DisplayLink considerations to check before purchase:
- CPU usage increases during video-heavy workloads, which can cause minor display stuttering under sustained load
- Maximum refresh rate on most current DisplayLink hardware is 60Hz
- Unlock with Apple Watch is disabled when DisplayLink is active
- macOS Sequoia (macOS 15) requires DisplayLink Manager version 1.11 or later for normal operation
- Precision mouse input on DisplayLink displays is noticeably worse than on natively connected monitors — not suitable for competitive gaming or high-accuracy cursor work
✅ Buy if…
- You have an M1, M2, or M3 MacBook Air and need two extended displays
- You want to add a third display beyond the M4’s two native Thunderbolt outputs
- Your primary use is productivity — documents, code, spreadsheets — not streaming or gaming
- You are comfortable installing and maintaining a driver application
❌ Don’t buy if…
- You regularly watch Netflix, Disney+, or other DRM-protected content on an external display
- You need high refresh rates above 60Hz on your external monitors
- You use Unlock with Apple Watch and do not want to disable that feature
- You use your Mac for competitive gaming or precision-input work
Option 4: Standard USB-C Hub (MST-based)
Most USB-C hubs priced in the budget range that list two HDMI or DisplayPort outputs use MST internally. As covered above, these will not provide two independent extended screens on any Apple Silicon Mac. Both displays will mirror or one will go black. These products work correctly on Windows PCs with MST-capable GPUs. The issue is that many product listings do not clearly distinguish Mac behavior from Windows behavior, and the “dual monitor” language in the product title applies only to Windows.
✅ Buy if…
- You use a Windows PC and need dual extended monitors from a single USB-C port
- You need only one external monitor with your Mac alongside USB-A ports
❌ Don’t buy if…
- You want two extended (non-mirrored) external screens on any Apple Silicon Mac
- The product listing does not explicitly confirm Thunderbolt or DisplayLink technology — assume MST
What to Check Before Buying: Ports, Resolution, Refresh Rate, Power, and Clamshell Mode
Before purchasing any dock, hub, or cable for a dual-monitor M4 MacBook Air setup, confirm these five things. Getting any one of them wrong results in either no second display working or missing a feature you expected after purchase.
-
Connection technology: Thunderbolt or DisplayLink?
A Thunderbolt dock requires a cable and port both carrying the Thunderbolt lightning bolt icon. DisplayLink requires the DisplayLink Manager driver from Synaptics. USB-C without either of these qualifiers typically indicates MST, which will not extend two displays on any Mac. -
Resolution and refresh rate per display output.
The M4 MacBook Air supports up to 6K at 60Hz or 4K at 144Hz per display when two are connected. Confirm whether the dock’s display outputs match your monitor’s requirements. Some products advertise 4K but only at 30Hz — check the detailed spec sheet, not just the headline. -
Power delivery wattage (if you want single-cable charging).
If you want your dock to charge the MacBook Air over the same Thunderbolt cable, verify the dock’s power delivery output. The M4 MacBook Air supports charging at up to 70W. A dock with lower wattage will charge slowly or draw down the battery under sustained load. -
HDCP compatibility for streaming.
Native Thunderbolt connections and direct cables support HDCP. DisplayLink does not. If any external display will be used for Netflix, Disney+, or similar services, confirm the connection method is Thunderbolt-based or direct cable — not DisplayLink. -
Clamshell mode: valid but not required on M4.
Unlike the M3 MacBook Air, the M4 does not require the lid to be closed to enable a second external display. Clamshell mode (lid closed, external keyboard and mouse, connected to power) still works on the M4, but it no longer unlocks additional display outputs. Per Apple’s official documentation, lid state does not affect the maximum number of supported external displays on the M4.
Best Setup Patterns for M4 MacBook Air Users
The right setup depends on your desk peripherals, display count, and whether you need streaming on an external monitor. For most users at a full desk, a Thunderbolt dock with USB-A, Ethernet, and charging is the practical choice. For minimal setups or budget constraints, direct cables or a DisplayLink dock cover the basics — with the trade-offs noted above for each.
| Setup Pattern | Recommended Method | What You Need | Key Trade-off |
|---|---|---|---|
| Simple desk Two monitors, Bluetooth peripherals only |
Direct cable | Two USB-C to DisplayPort or USB-C to HDMI 2.0 cables (one per monitor) | No USB-A ports remaining; MagSafe required for charging |
| Full desk setup Two monitors + USB peripherals + Ethernet |
Thunderbolt dock | Thunderbolt 4 dock (CalDigit, OWC, Sonnet); single Thunderbolt cable to MacBook | Highest upfront cost; requires genuine Thunderbolt dock, not USB-C |
| Budget setup Two monitors, willing to install a driver, no streaming needed |
DisplayLink dock | DisplayLink-compatible USB-C dock + DisplayLink Manager app installed | No Netflix/streaming on DisplayLink displays; 60Hz max; CPU usage increase |
| Travel / clamshell Lid closed, portable single-monitor use |
Direct cable or compact Thunderbolt hub | USB-C to HDMI cable (single monitor) or compact Thunderbolt hub for dual | Clamshell requires external keyboard, mouse, and power connection |
Check laptop stands on Amazon
/
Curve SE product details
How We Researched
This article is based on Apple’s official support documentation for M4 MacBook Air external display specifications (support.apple.com/en-us/122212 and the 2025 MacBook Air User Guide), Plugable’s official knowledge base on DisplayLink and HDCP behavior on macOS, Synaptics/DisplayLink official documentation on macOS driver requirements, and confirmed reports from Apple Community support forums and hardware discussion threads. We have not conducted hands-on lab testing. All display resolution and refresh rate figures reflect Apple’s published technical specifications. DisplayLink limitations reflect Plugable’s and Synaptics’ official documentation as well as multiple independently verified user reports across Apple Community and hardware forums.
Final Thoughts
The M4 MacBook Air removes the main multi-monitor limitation that affected the M1, M2, and M3 generations — you can now run the built-in display alongside two external monitors without closing the lid. The hardware rules governing how those monitors connect, however, remain strict: genuine Thunderbolt for native extended output, DisplayLink with a driver if you need flexibility at the cost of streaming compatibility, and nothing else reliably works for two independent extended screens on a Mac.
Before purchasing, verify the connection technology on the spec sheet — not just the number of ports or the “dual monitor Mac” claim in the product title. Most affordable USB-C hubs with two video outputs use MST internally and will only mirror on a Mac. If you are setting up a full desk, a Thunderbolt dock from a Mac-focused vendor is the most straightforward path. If cost is the primary constraint and DRM streaming on an external display is not a concern, a DisplayLink dock with the driver installed covers the core use case.





Comments